In October, I volunteered to make a wedding dress for my niece so that she wouldn’t have to travel to get one. (There isn’t much available in Southwest Missouri if you want, say, sleeves on your dress or a sweetheart neckline.)
You may think this sounds like an ambitious project, and you would be right, but I have Simon Henry’s book, “The Little Black Dress: How to Make the Perfect One for You,” and a book on making wedding dresses from the library and what can’t a girl do if she’s got the right books and just enough sewing experience to make her think she knows what she is doing?
I used the directions from Simon Henry’s book to pin tissue paper on my niece and then marked and pinned the tissue paper until I had created a pattern made exactly to fit her. The sleeves were trickier than Simon Henry made them sound and I might have become stuck, but my mother-in-law came to my rescue with a magic arm-sleeve-hole ruler that eliminated my pattern drafting amateur mistake.
I sewed 2 trial bodices out of muslin before I finally told myself that it was time to quit stalling and cut the real fabric.
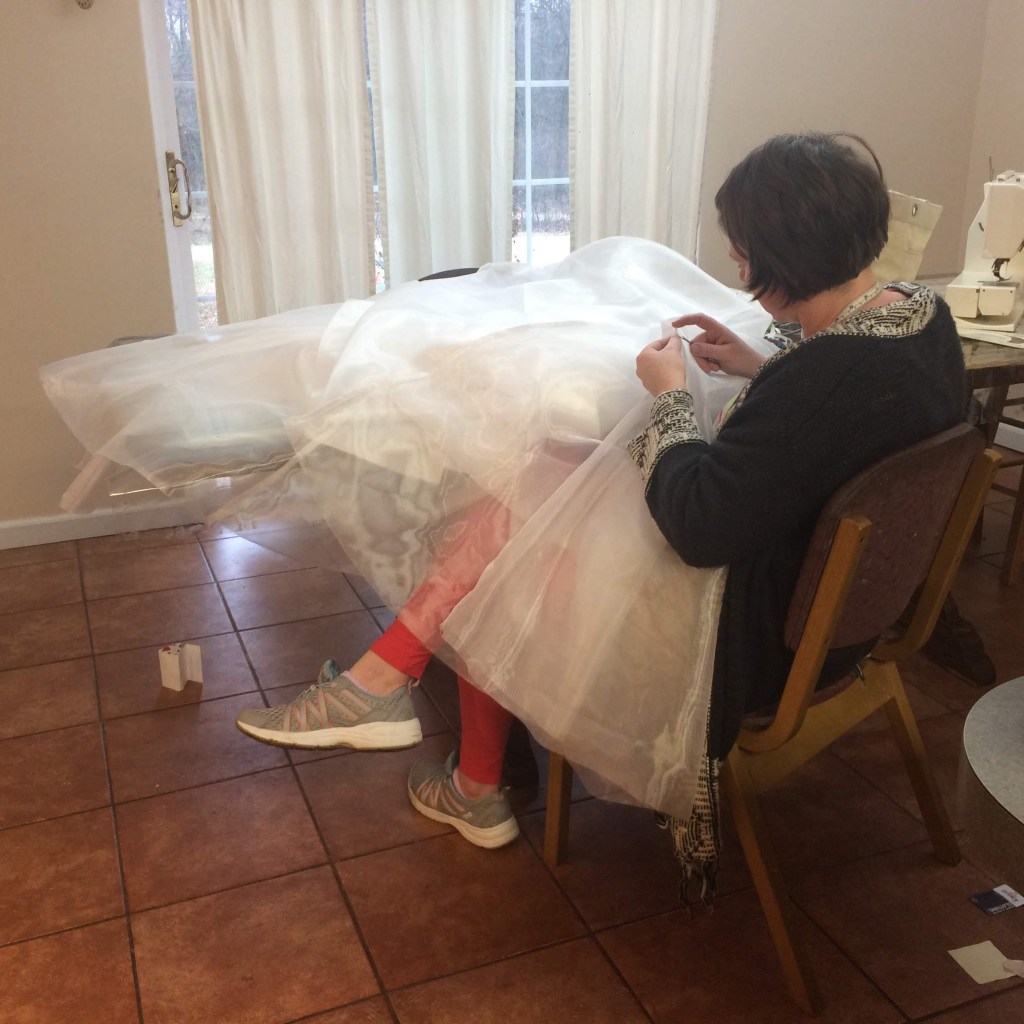
It was my own Project Runway in real life. I stayed up late workingon it, I shed tears over it, I sewed my finger to it, I screamed at my family. SO. MUCH.DRAMA.
I also loved making it, and I can’t explain how something that gave me so much trouble and stress was simultaneously something that I am so happy and proud about.
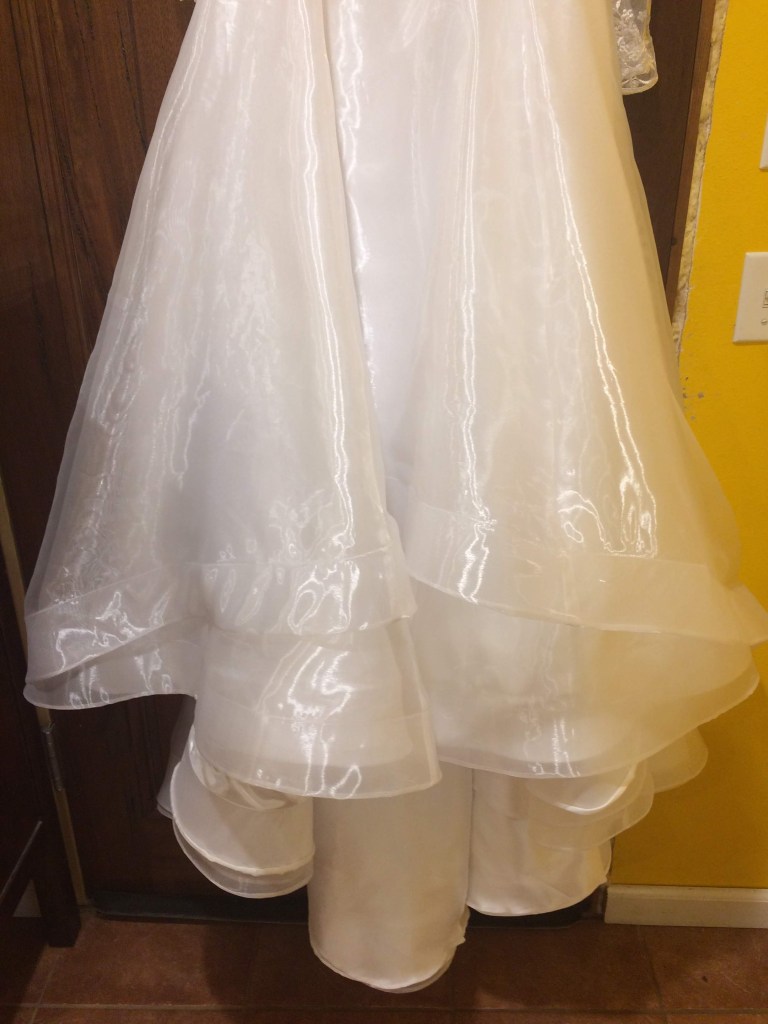
This dress had four layers of skirts: one lining layer, one satin layer and 2 silk organza layers. I borrowed my mother-in-law’s serger to do the satin and lining layers, but put French seams in the organza layers with my regular machine. I debated this extra trouble for a dress that would only be worn once or twice, but in the end I did it, and I was glad—just the movement of the dress as I sewed it would have been enough to fray some of the seams otherwise.
I hemmed 3 of the skirt layers with horsehair braid. I am in love with that stuff. It is awesome. It made the skirt dance around Maddy when she moved, and it made finishing the hem so much easier than any other way.
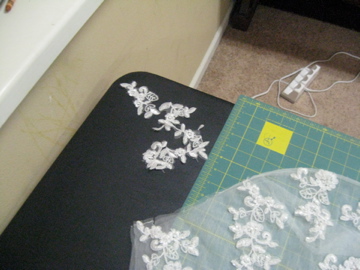
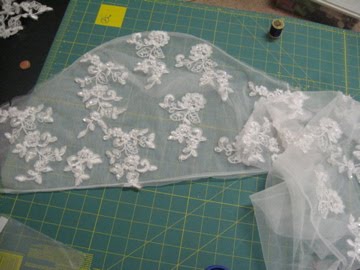
I watched YouTube videos and learned how to shape a lace overlay for a bodice so that the seams are invisible.
Then I got really obsessed with adding as many high-end details as I could into the dress. I put ribbon loops with snaps in the shoulders. These were to loop around her bra and undergarment straps to keep them in place under the dress.
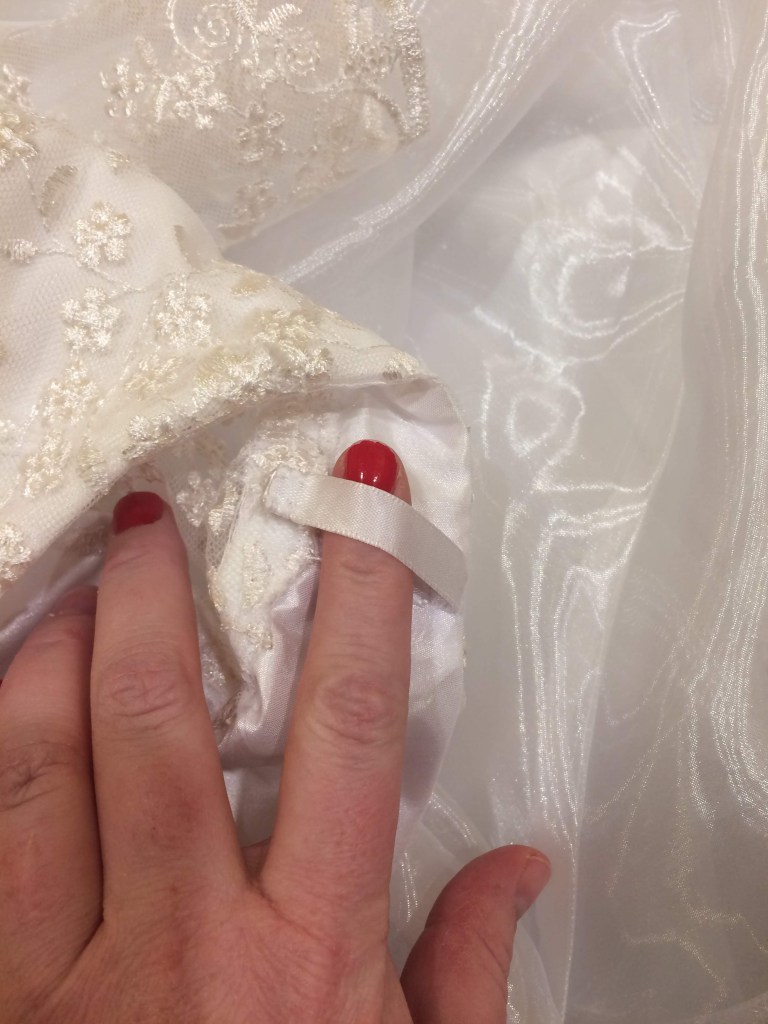
I put loops of ribbon to hang the dress on the hanger so that the weight of it wouldn’t pull the shoulders out of shape.

Grandma Rosi hand crocheted these chains which I used to loosely attach the skirt layers together so they couldn’t get horribly twisted or bunched up.

I hand sewed almost 30 pearl buttons done the back of the dress. This took 3 hours alone, but they were beautiful.
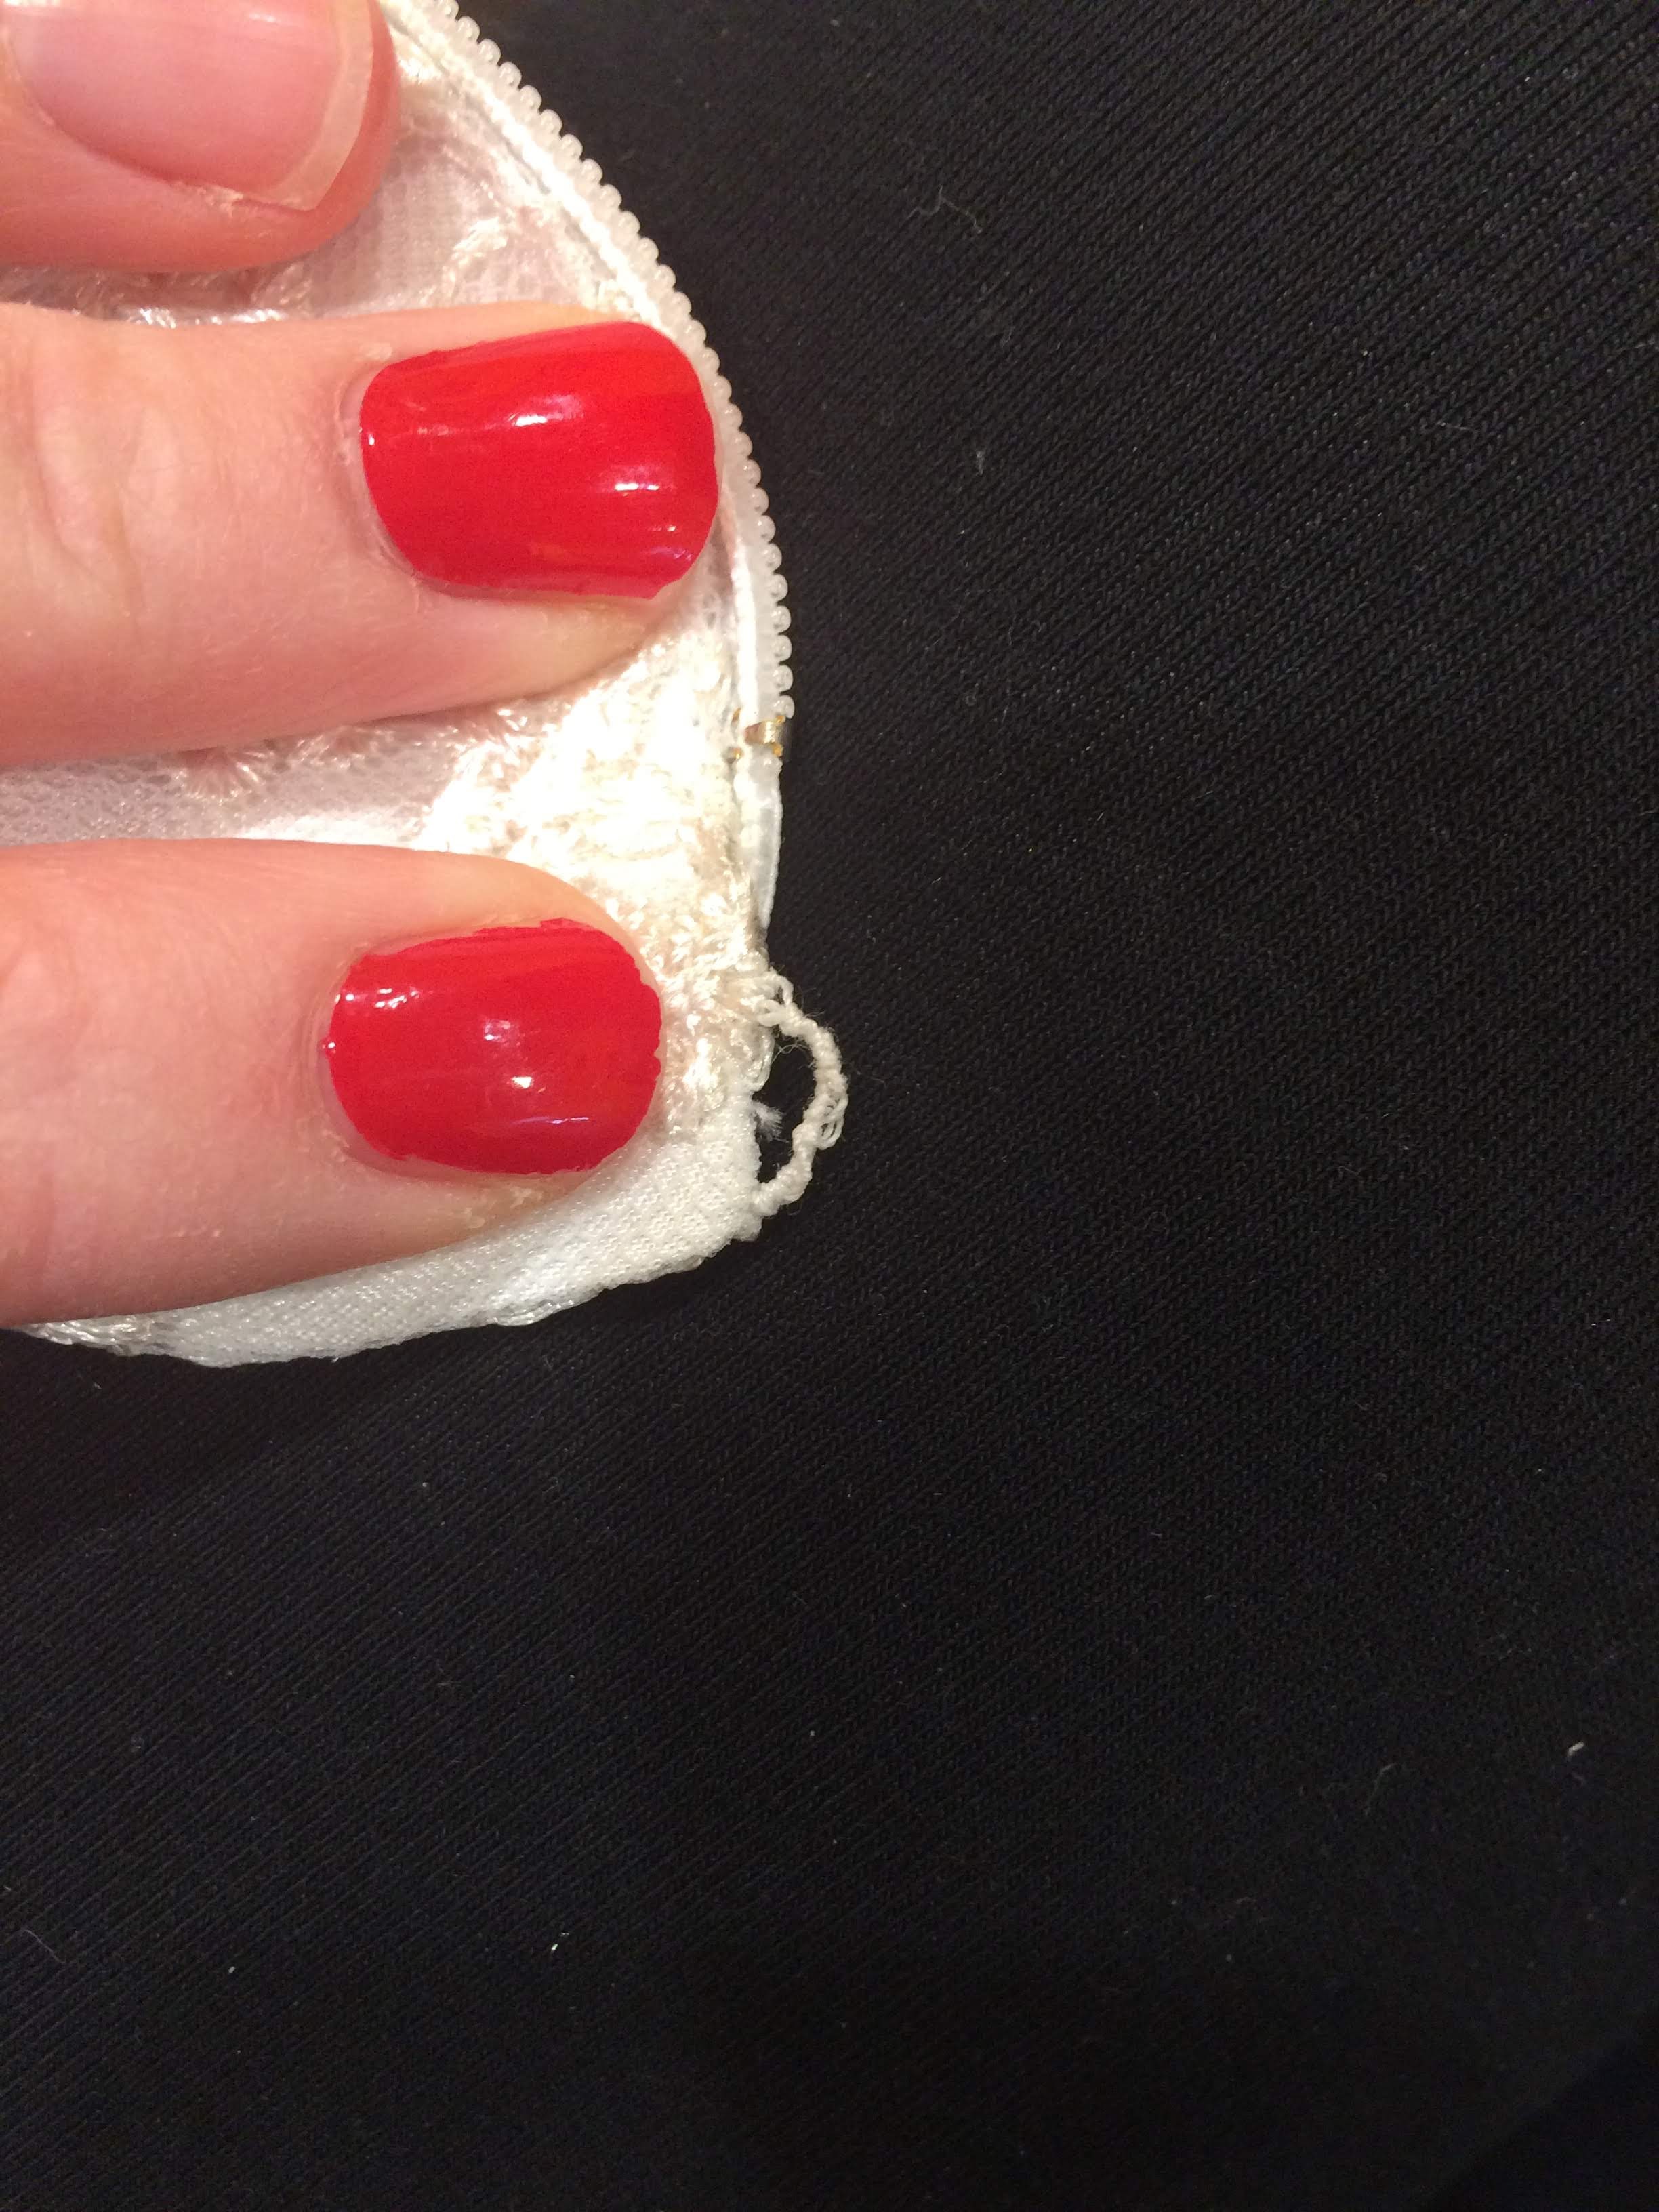
I made these knotted thread loops for the top of the bodice and for bustling the skirt instead of using metal loops.

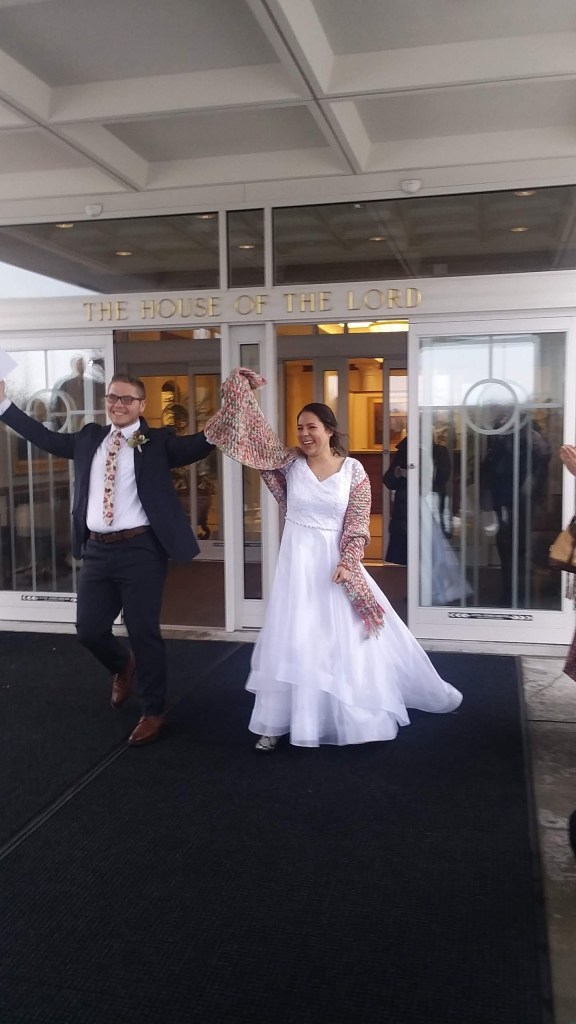
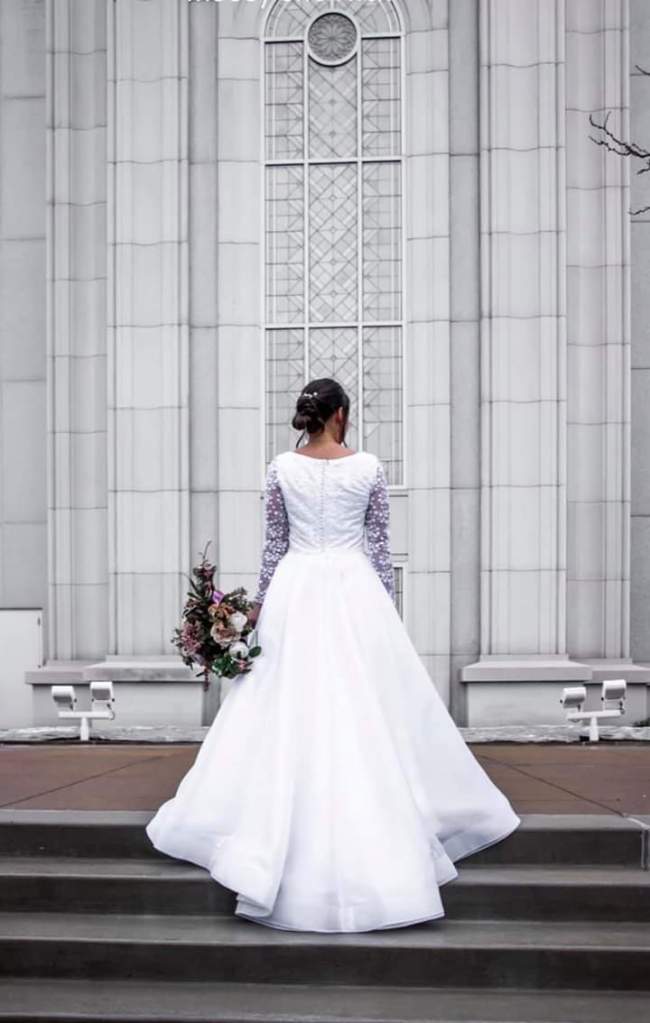
Maddy was radiant on her wedding day, and would have looked beautiful in a burlap sack. But I was really happy about how the dress fit her and moved with her through it all.