


Day 1 of Making Jane Austen gown:
Stare at pattern admiringly.
Goals: Read pattern directions, choose fabric, clear a path to sewing machine.


In October, I volunteered to make a wedding dress for my niece so that she wouldn’t have to travel to get one. (There isn’t much available in Southwest Missouri if you want, say, sleeves on your dress or a sweetheart neckline.)
You may think this sounds like an ambitious project, and you would be right, but I have Simon Henry’s book, “The Little Black Dress: How to Make the Perfect One for You,” and a book on making wedding dresses from the library and what can’t a girl do if she’s got the right books and just enough sewing experience to make her think she knows what she is doing?
I used the directions from Simon Henry’s book to pin tissue paper on my niece and then marked and pinned the tissue paper until I had created a pattern made exactly to fit her. The sleeves were trickier than Simon Henry made them sound and I might have become stuck, but my mother-in-law came to my rescue with a magic arm-sleeve-hole ruler that eliminated my pattern drafting amateur mistake.
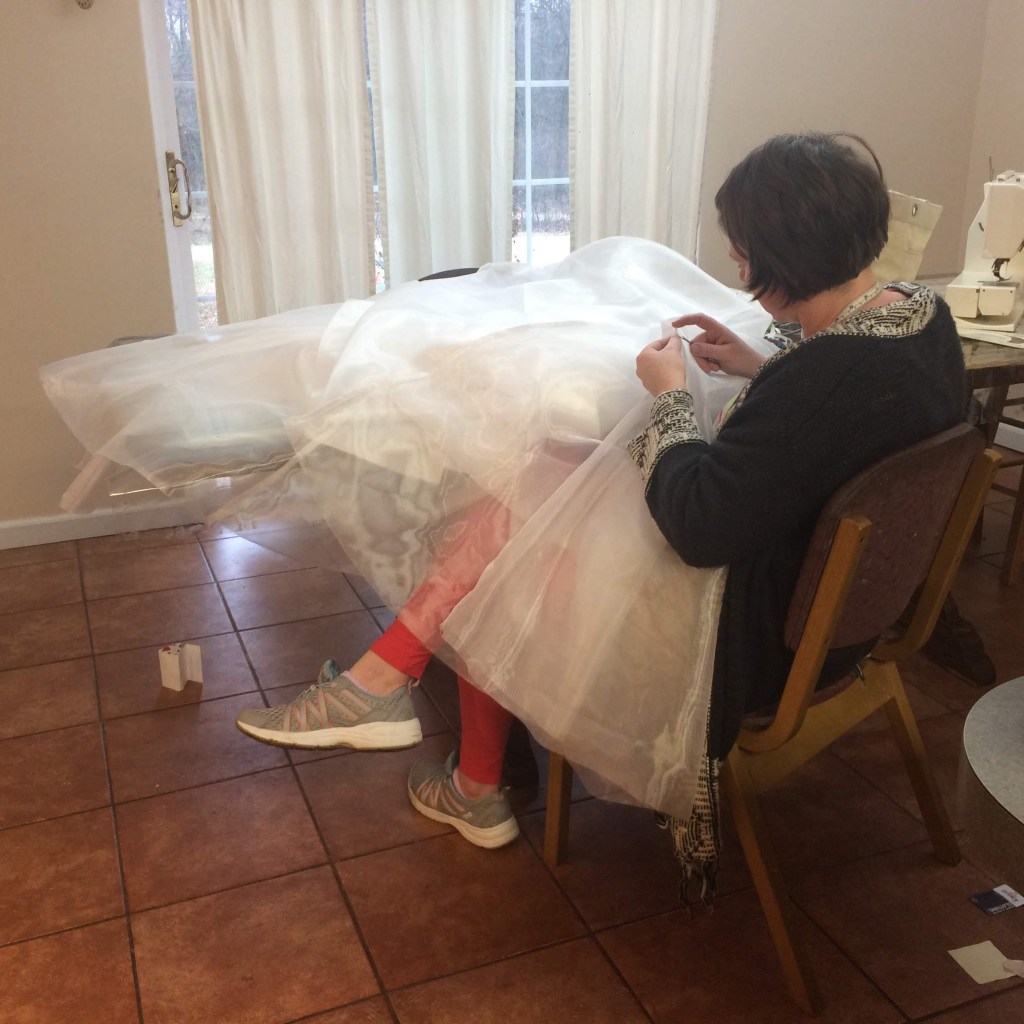
I sewed 2 trial bodices out of muslin before I finally told myself that it was time to quit stalling and cut the real fabric.
It was my own Project Runway in real life. I stayed up late workingon it, I shed tears over it, I sewed my finger to it, I screamed at my family. SO. MUCH.DRAMA.
I also loved making it, and I can’t explain how something that gave me so much trouble and stress was simultaneously something that I am so happy and proud about.
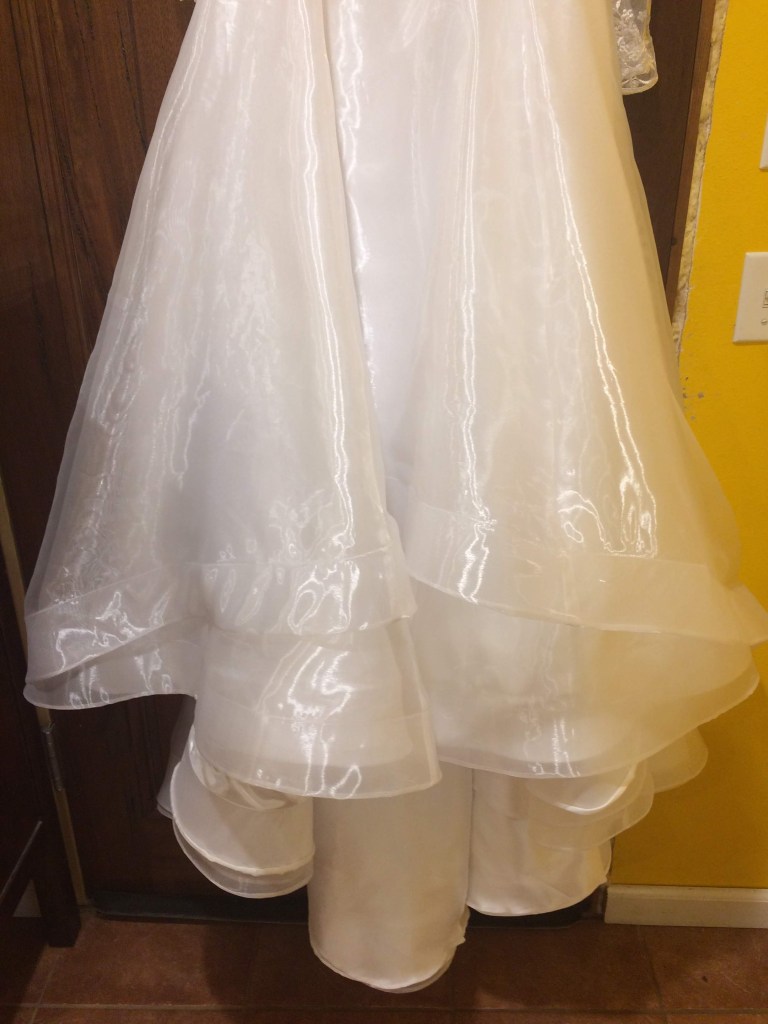
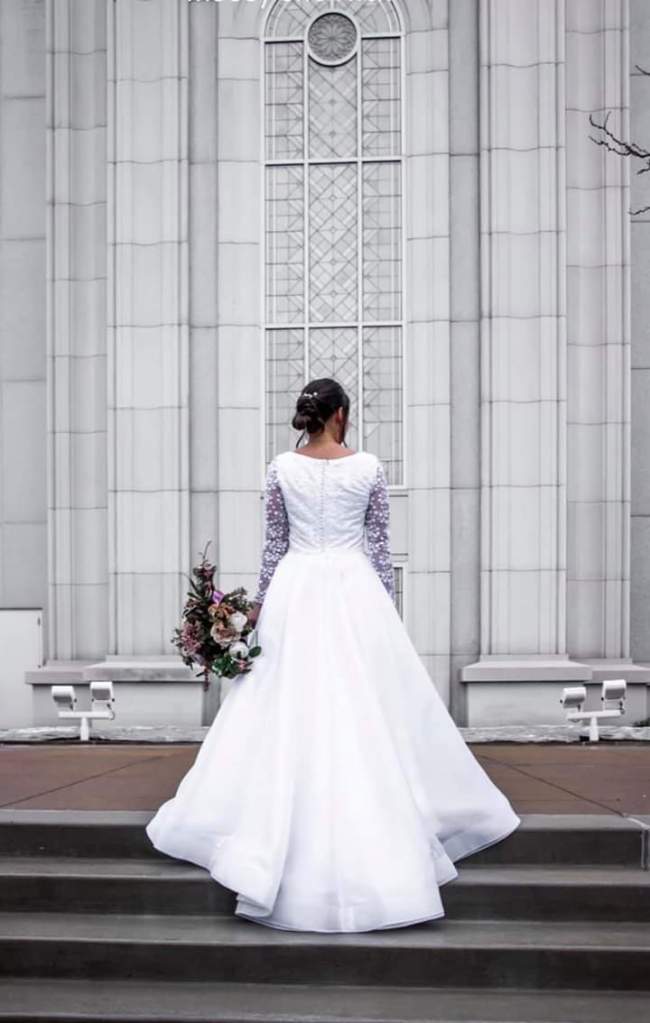
This dress had four layers of skirts: one lining layer, one satin layer and 2 silk organza layers. I borrowed my mother-in-law’s serger to do the satin and lining layers, but put French seams in the organza layers with my regular machine. I debated this extra trouble for a dress that would only be worn once or twice, but in the end I did it, and I was glad—just the movement of the dress as I sewed it would have been enough to fray some of the seams otherwise.
I hemmed 3 of the skirt layers with horsehair braid. I am in love with that stuff. It is awesome. It made the skirt dance around Maddy when she moved, and it made finishing the hem so much easier than any other way.
I watched YouTube videos and learned how to shape a lace overlay for a bodice so that the seams are invisible.
Then I got really obsessed with adding as many high-end details as I could into the dress. I put ribbon loops with snaps in the shoulders. These were to loop around her bra and undergarment straps to keep them in place under the dress.
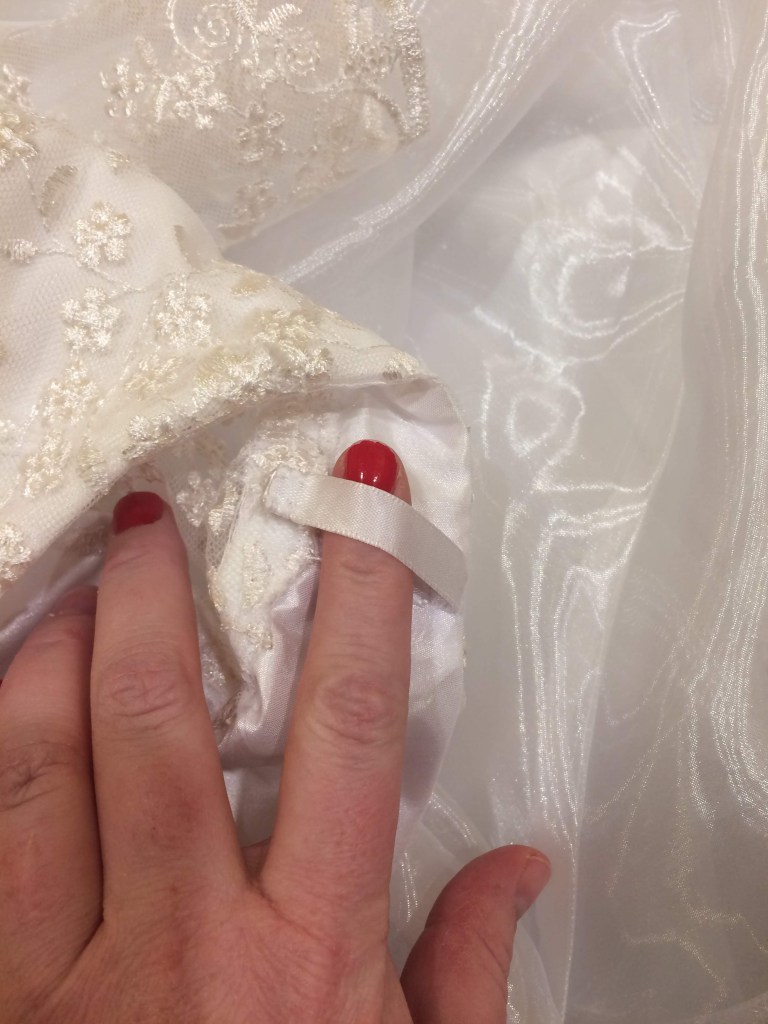
I put loops of ribbon to hang the dress on the hanger so that the weight of it wouldn’t pull the shoulders out of shape.

Grandma Rosi hand crocheted these chains which I used to loosely attach the skirt layers together so they couldn’t get horribly twisted or bunched up.

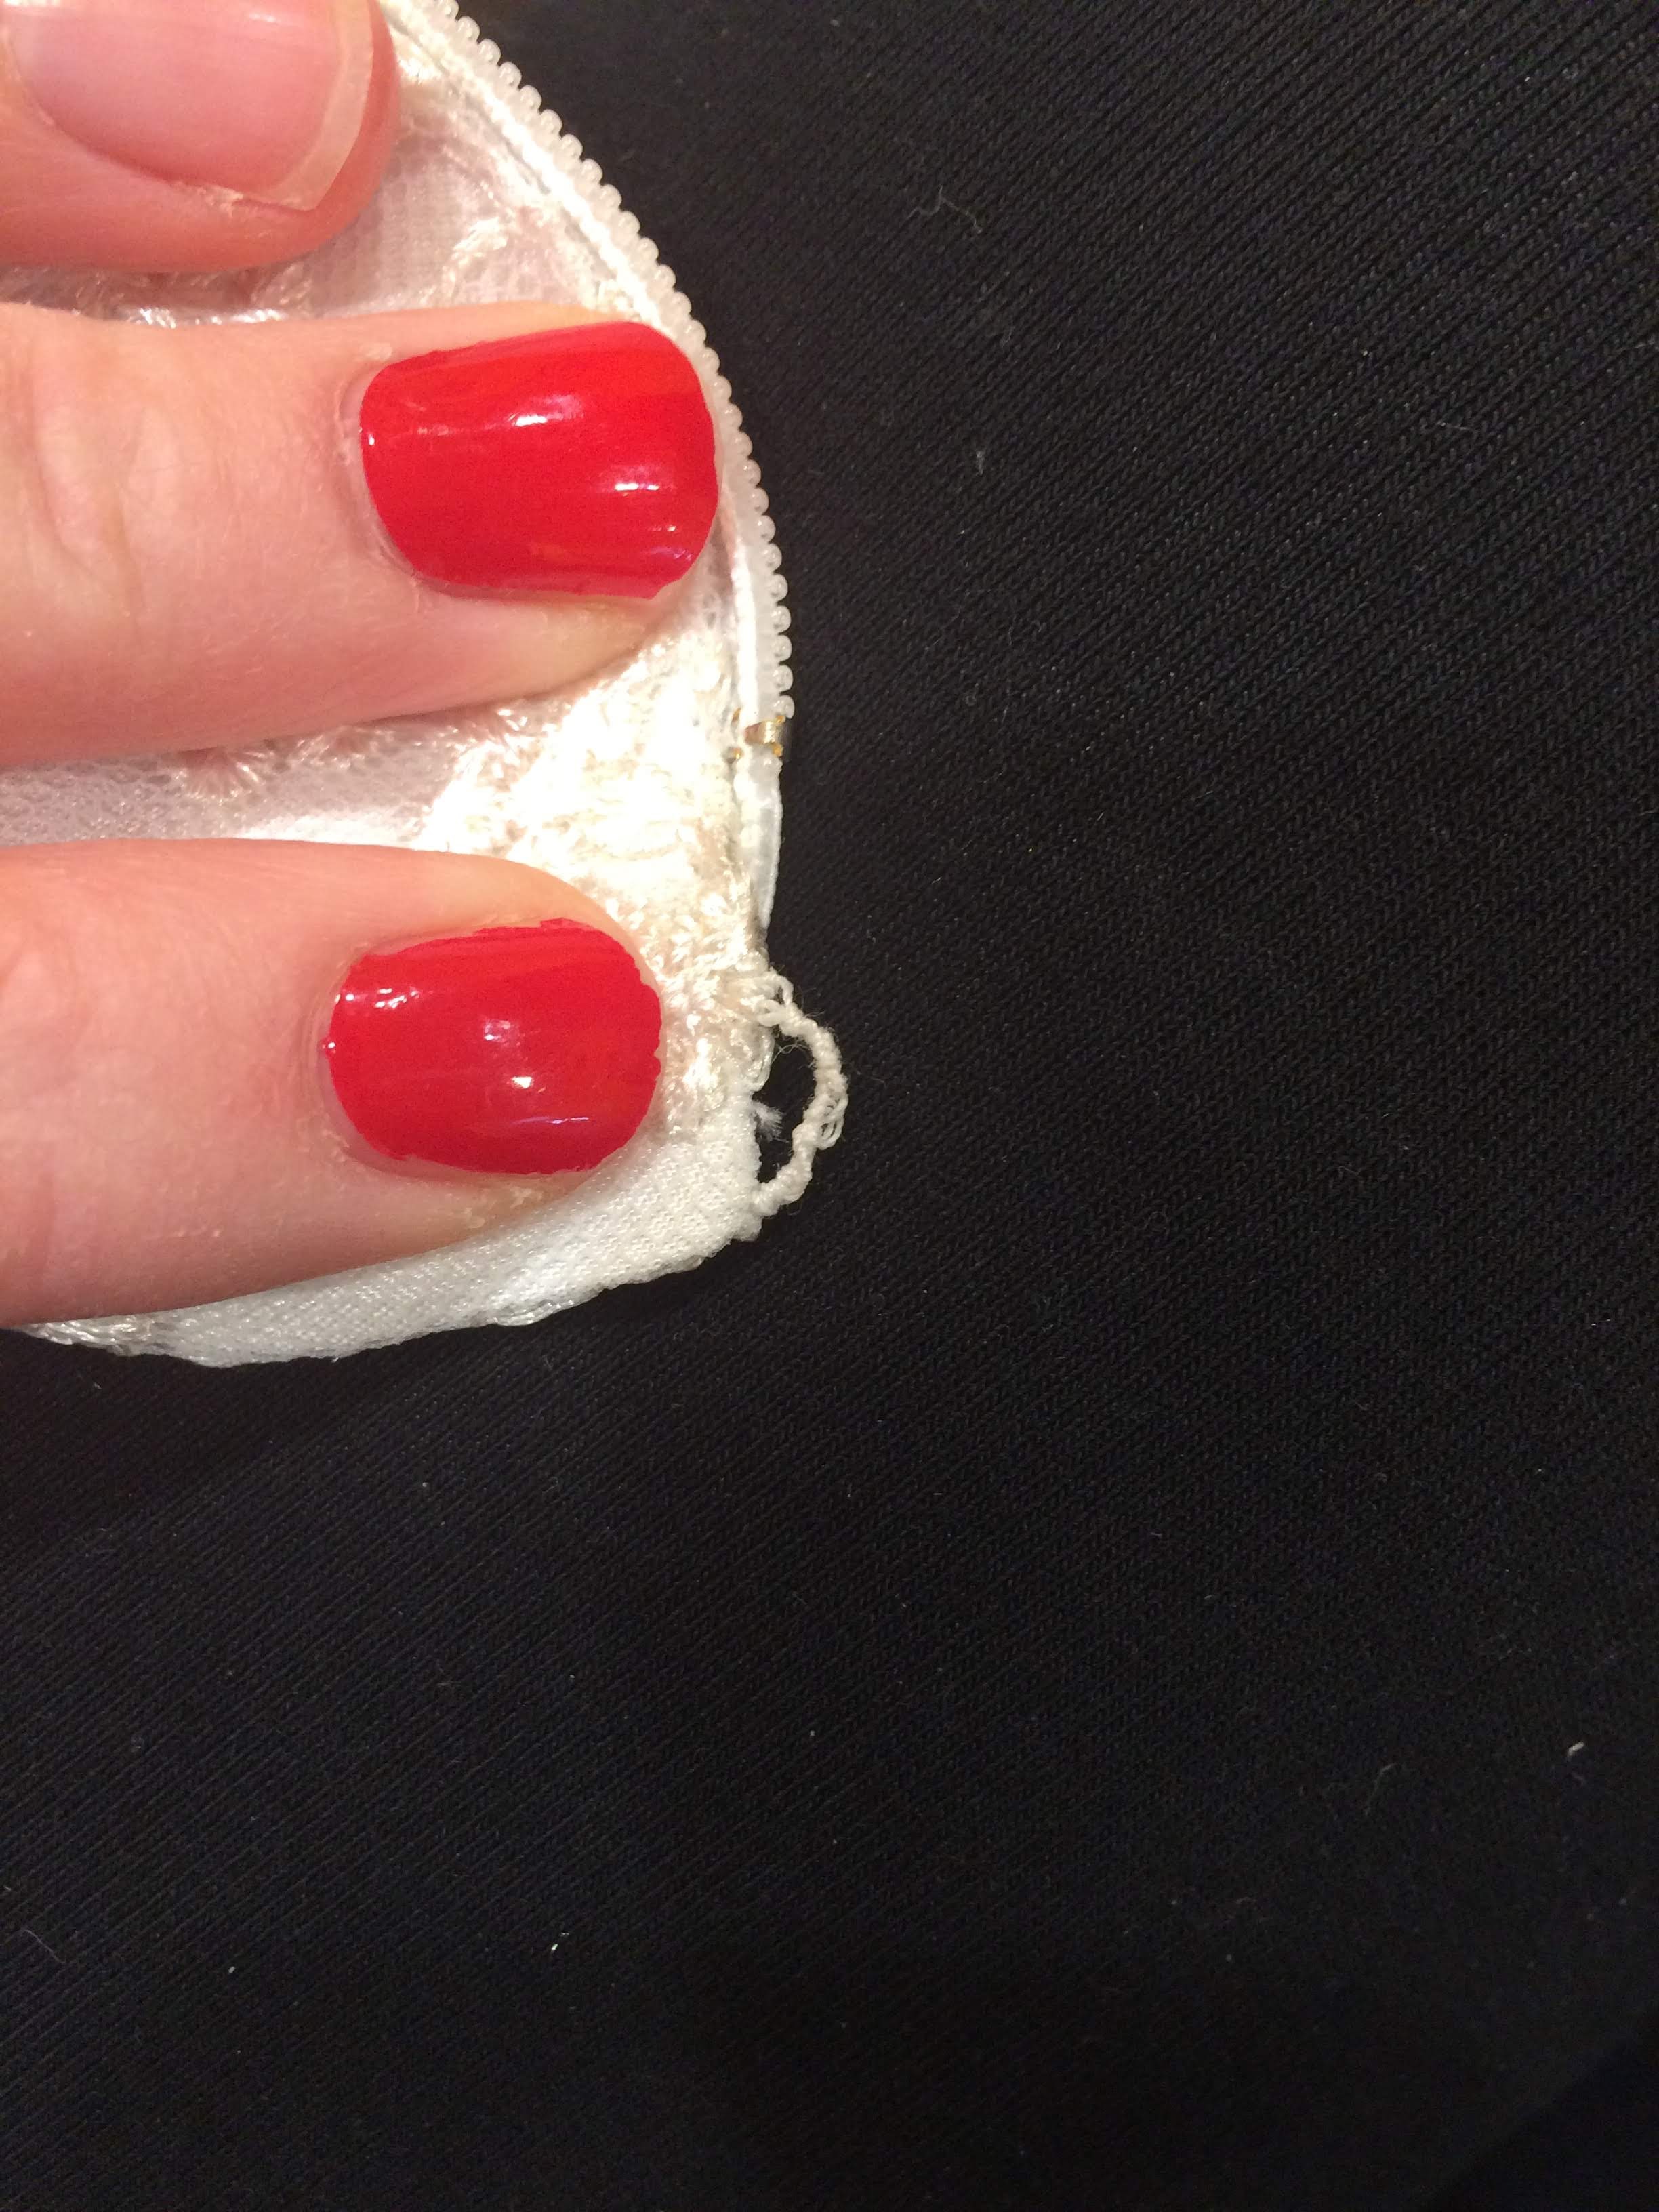
I hand sewed almost 30 pearl buttons done the back of the dress. This took 3 hours alone, but they were beautiful.
I made these knotted thread loops for the top of the bodice and for bustling the skirt instead of using metal loops.

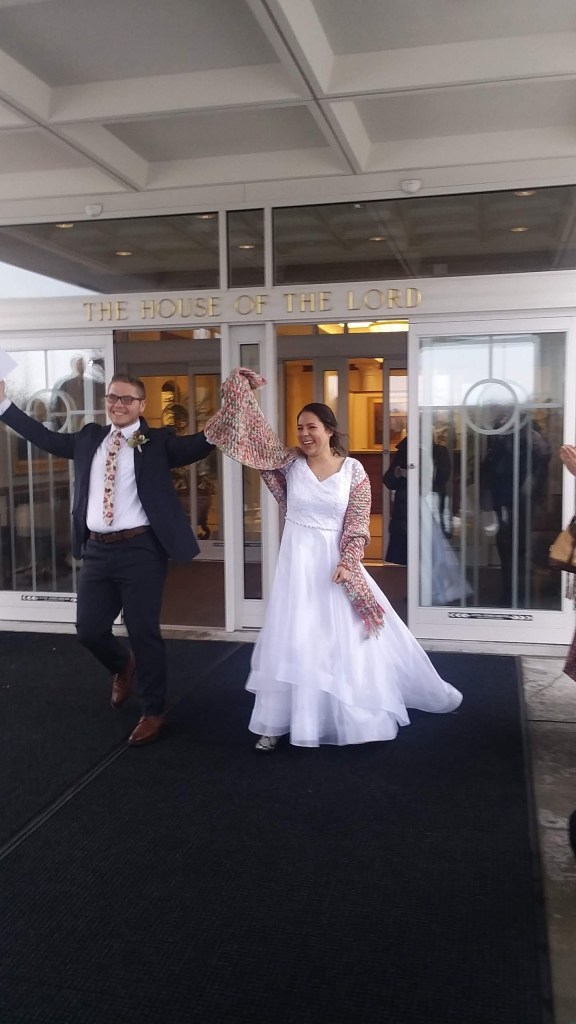
Maddy was radiant on her wedding day, and would have looked beautiful in a burlap sack. But I was really happy about how the dress fit her and moved with her through it all.


This year I tried to cut down on the Halloween Last Minute Crazyness by having “Costume Choosing Day” on the first Saturday in October. I got out my 2 huge Rubbermaid tubs of dress-ups and past Halloween Costumes and encouraged everyone to choose what they wanted.
It sort of worked. Except I then thought my work was done and forgot about everything until the day we needed costumes.
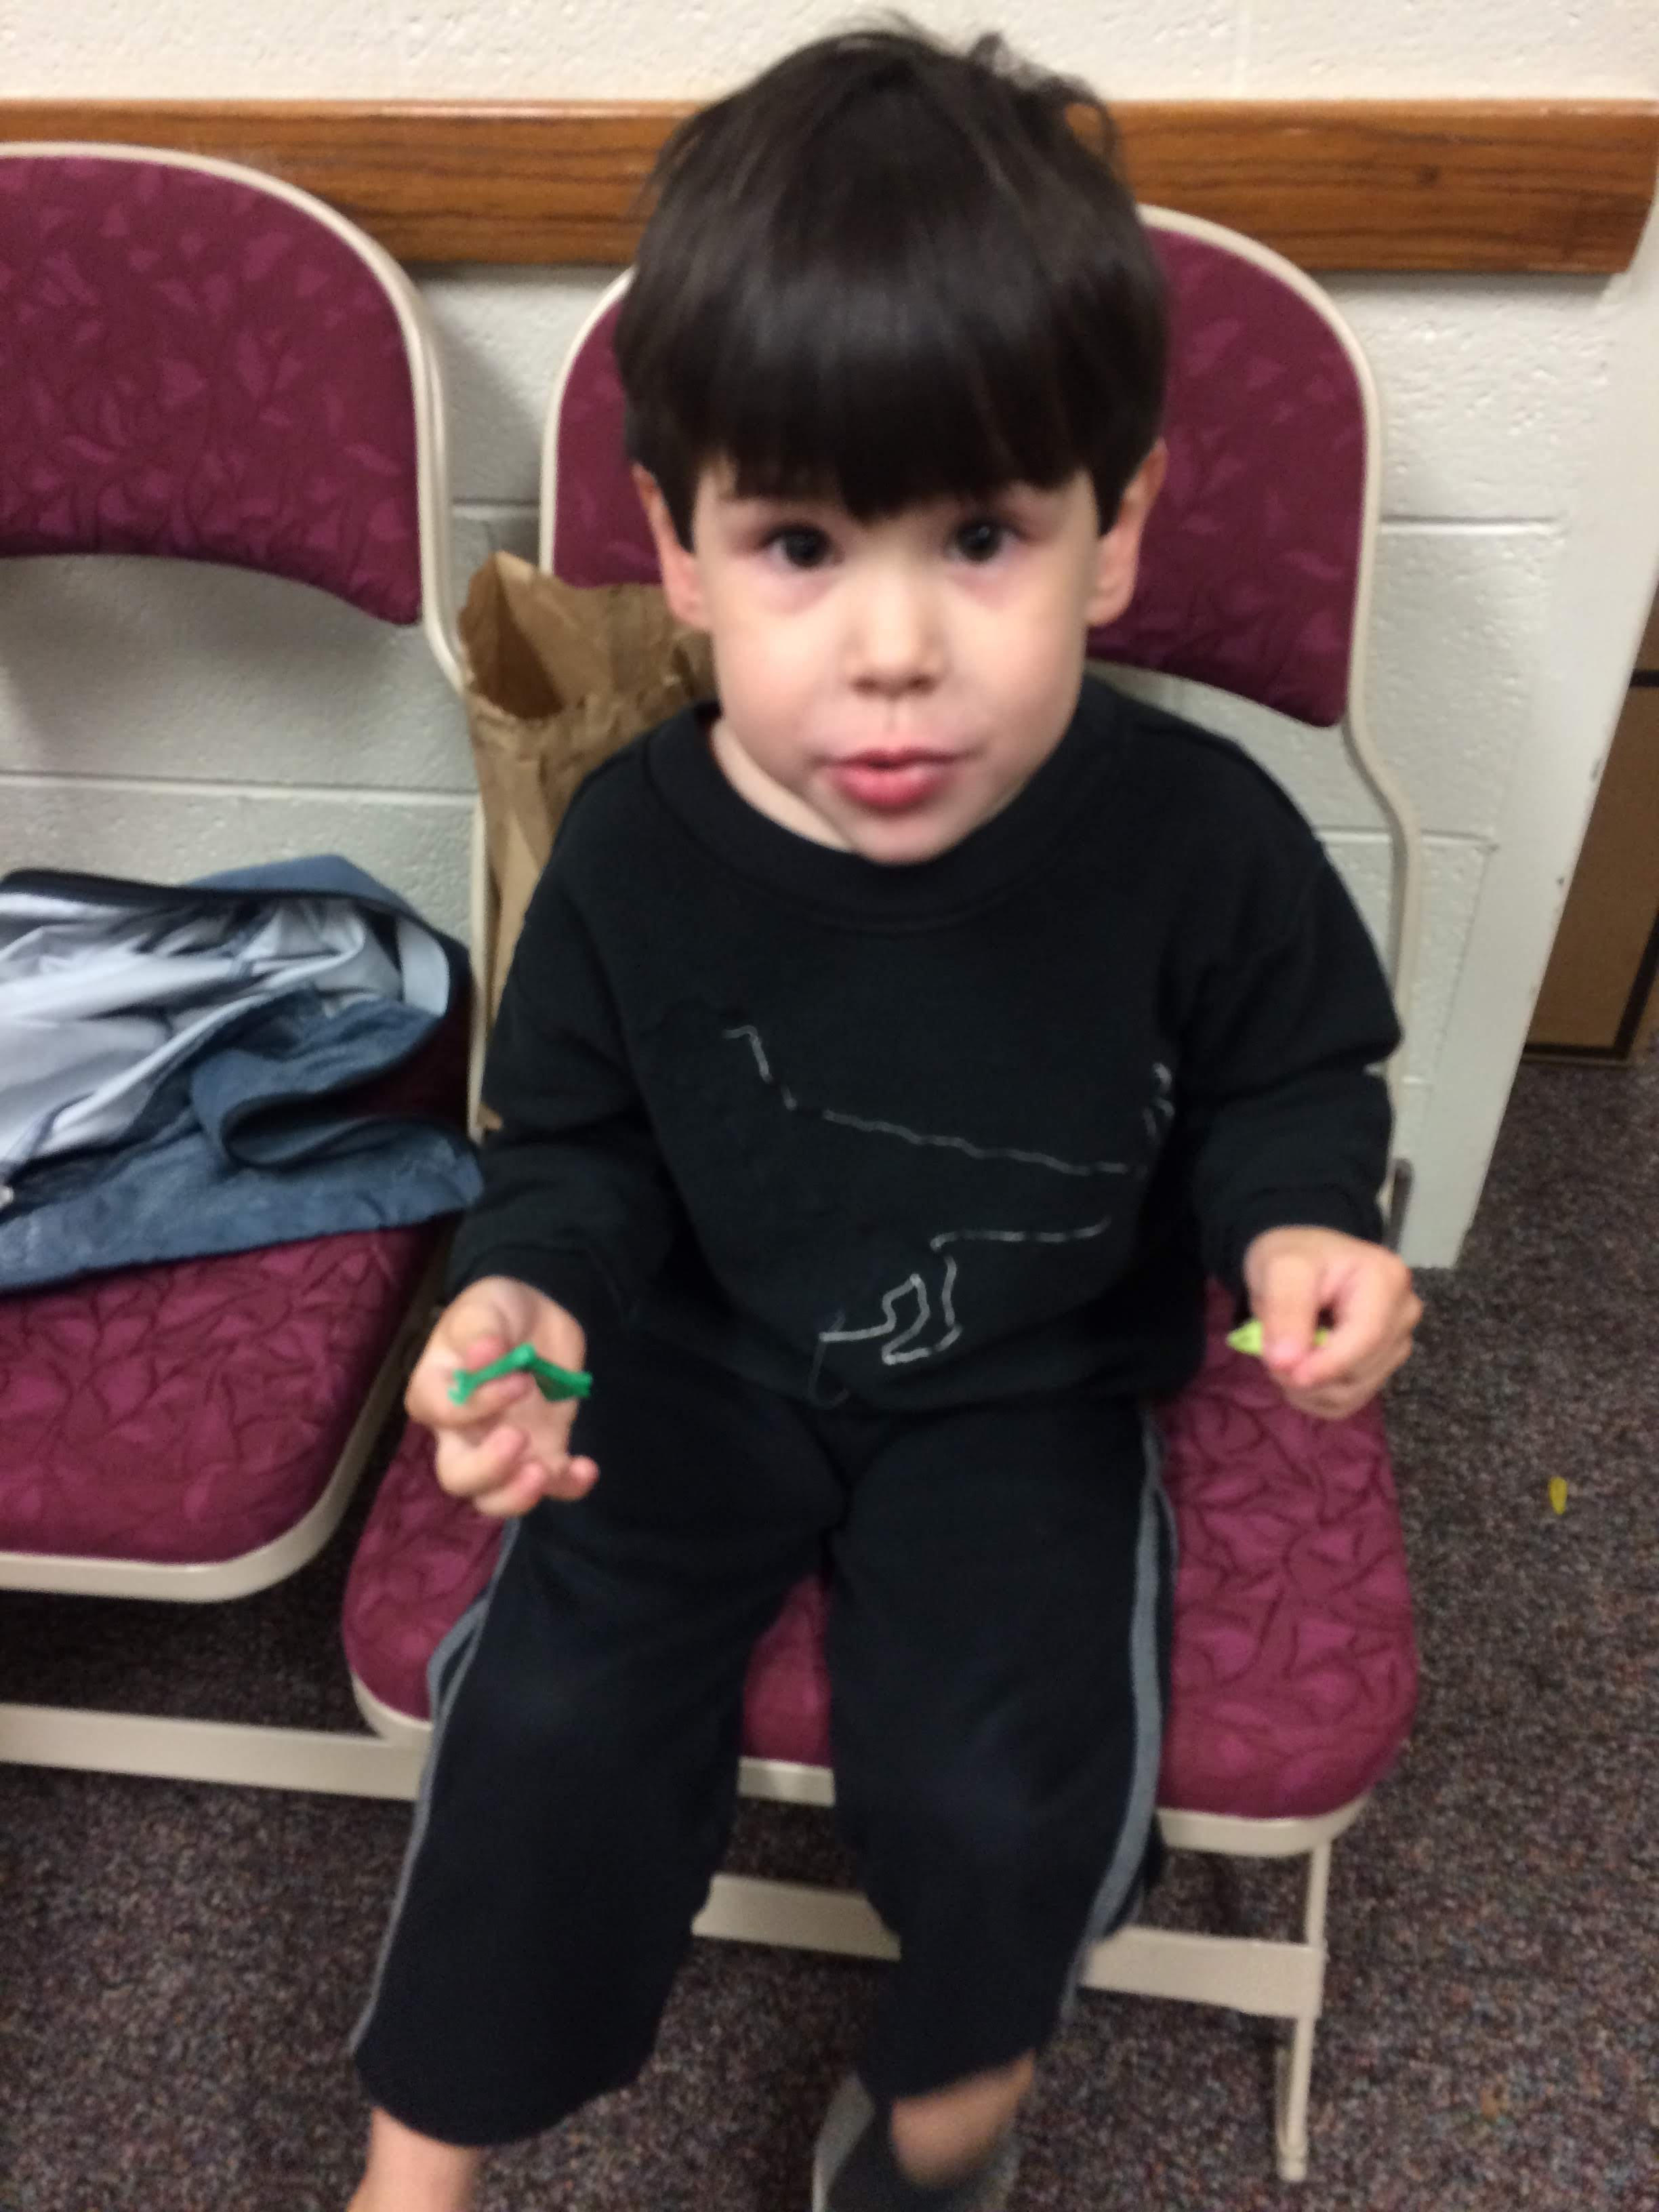
The Scooter Pies chose to be Buzz Light Year and Woody from Toy Story. However, on Halloween night, Zeke decided that he wanted to be “Mr Game-n-Watch” who he knows of from playing Smash Bros Brawl on the wii. Here is his last minute costume:
Skeeter refused to wear anything except “normal” clothes, so we talked him into wearing his monster face hoodie.
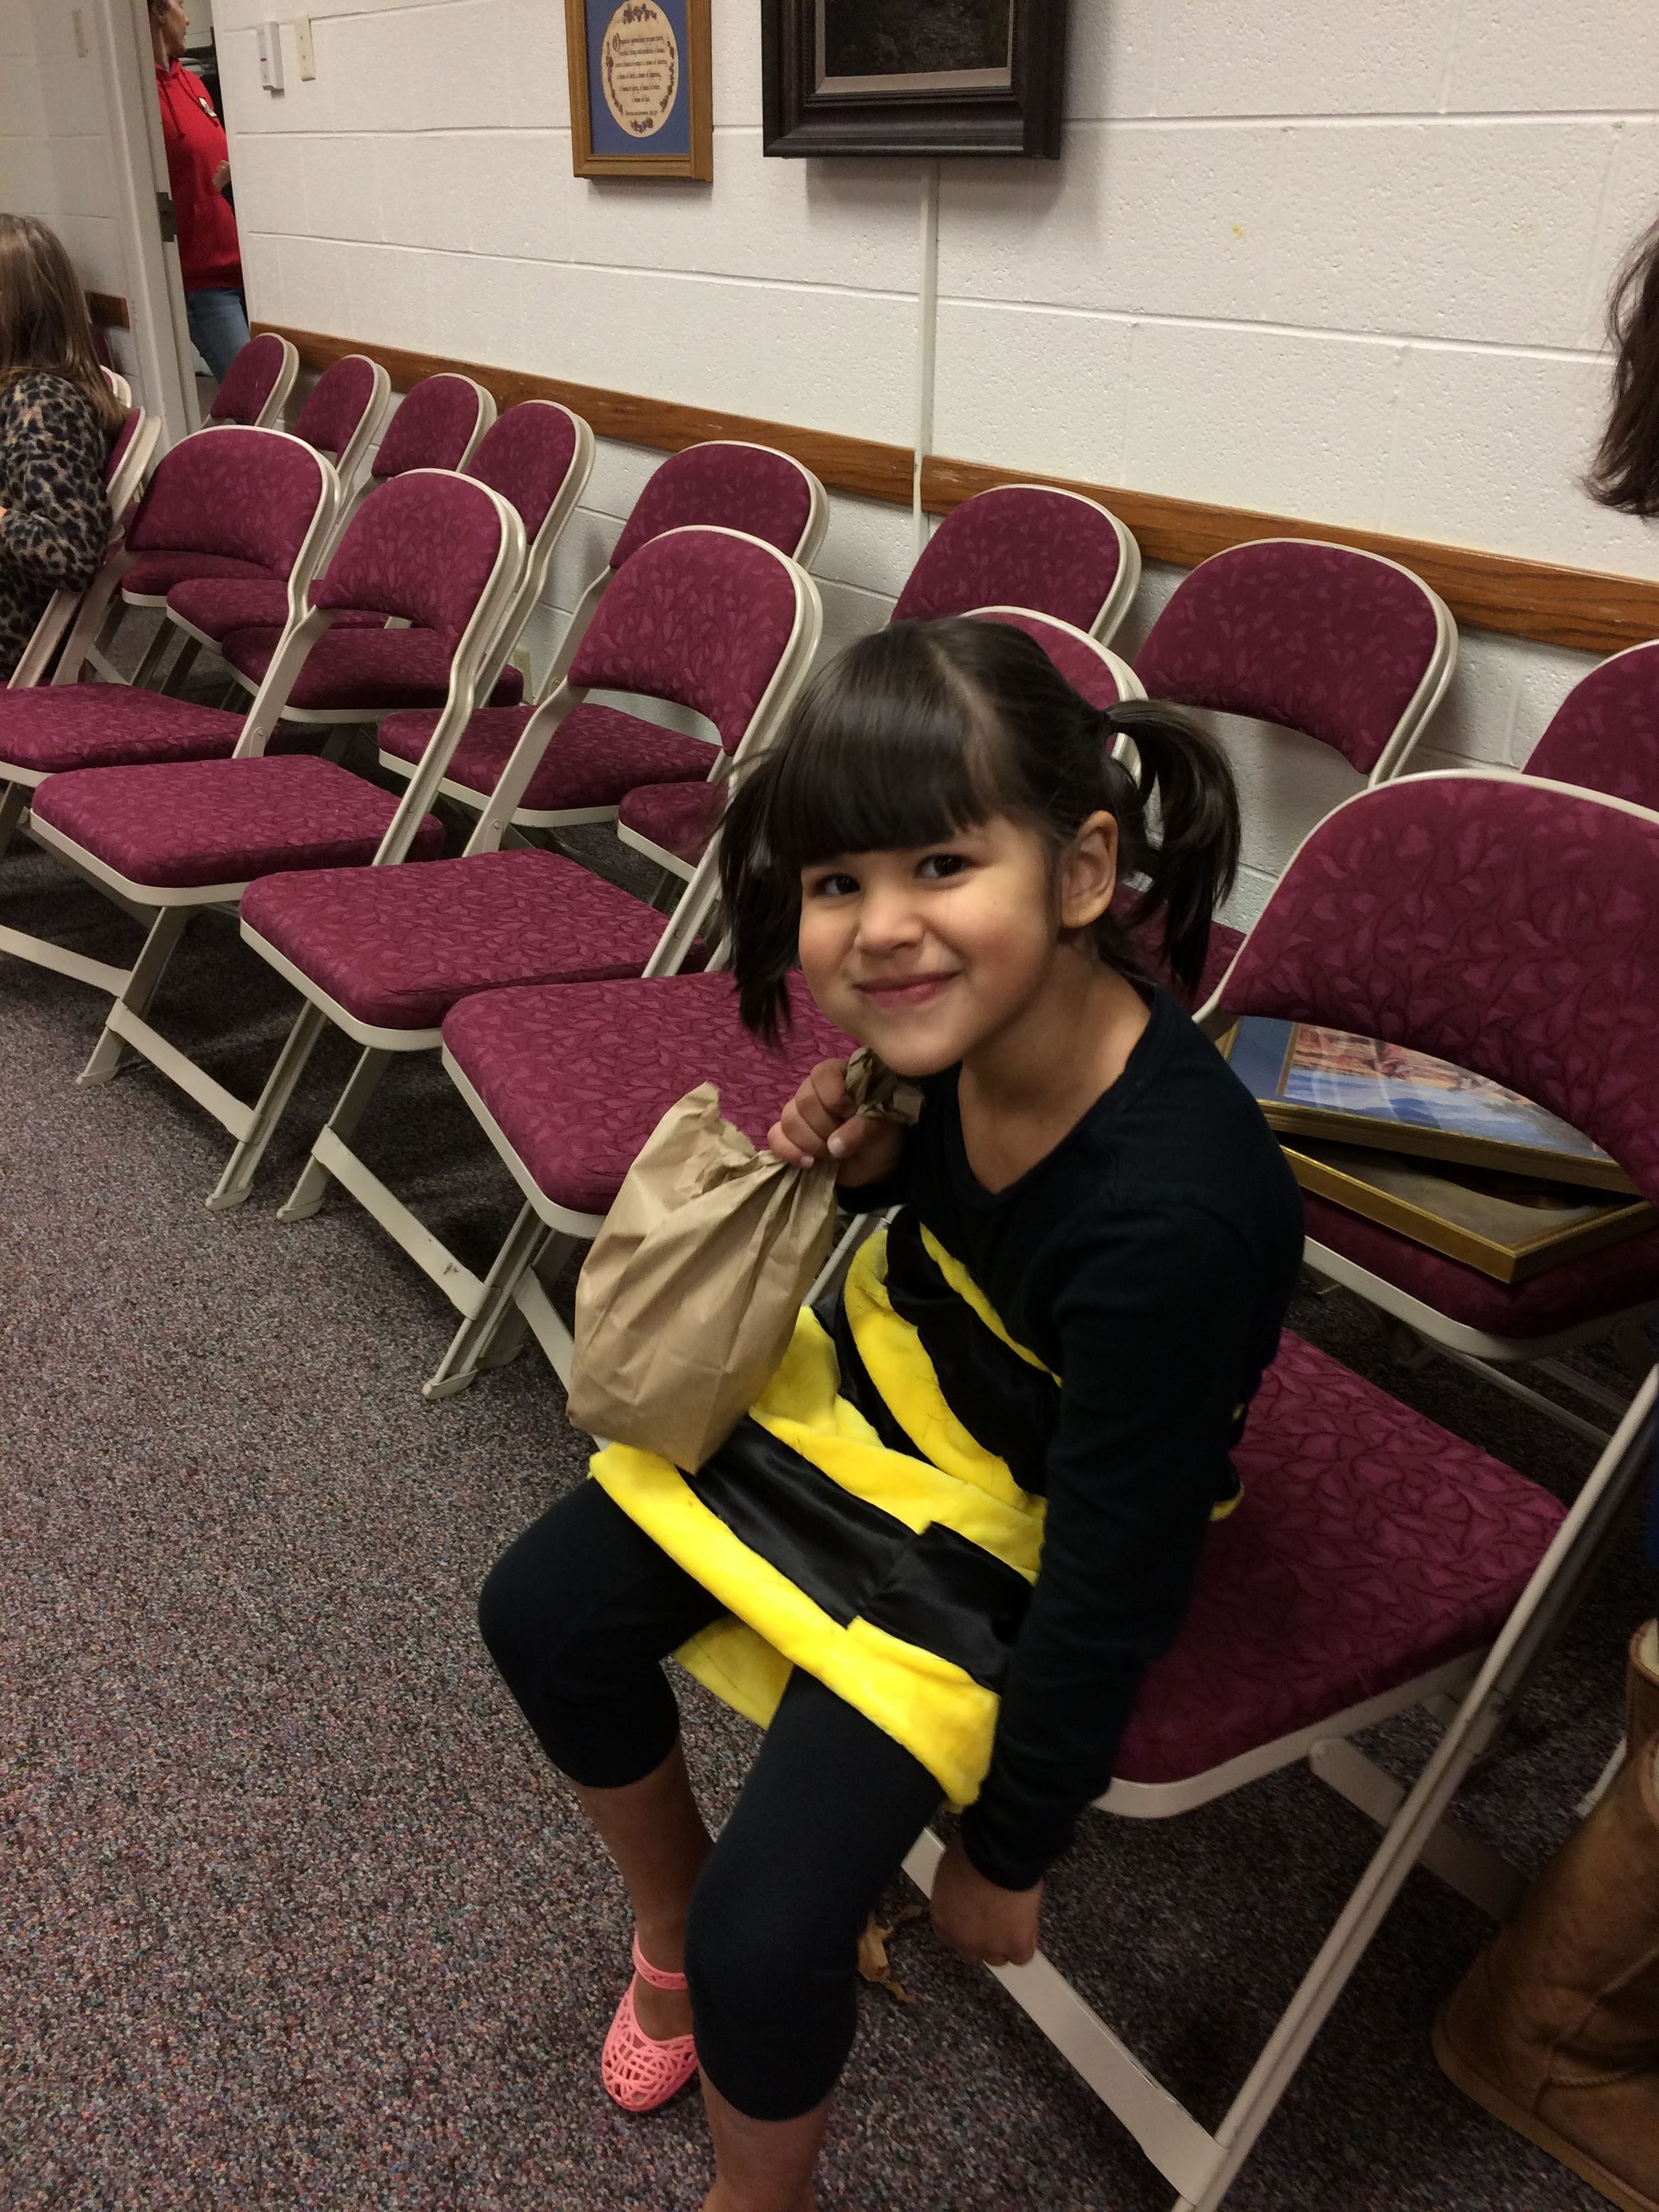
Apple Pie wanted to be a honey bee with a honey bucket. I forgot that this costume needed to be made until the day of our church trunk-or-treat. So that morning, I dug through my fabric sash, and found a fuzzy yellow scrap just about the right size to make this bubble and some shiny black for stripes. I made a hasty description to Peach Pie of how to sew it and left to go grocery shopping. When I returned, Apple Pie had a costume!
Banana Cream Pie chose to be a Princess riding a unicorn. All of her props came from the costume box, and I love her for choosing that.
Key Lime Pie wanted to be the Blind Earth Bending Princess, Toph, from Avatar: The Last Air-Bender.

I also forgot that this costume needed to be sewn until the day of the trunk-or-treat. She found a green shirt, and I found a scrap of green fabric, traced off a hasty pattern from some shorts and zipped out these culottes. I found the brown in my tubs as well, and cut it into a poncho. Pumpkin Pie constructed the headband for her.

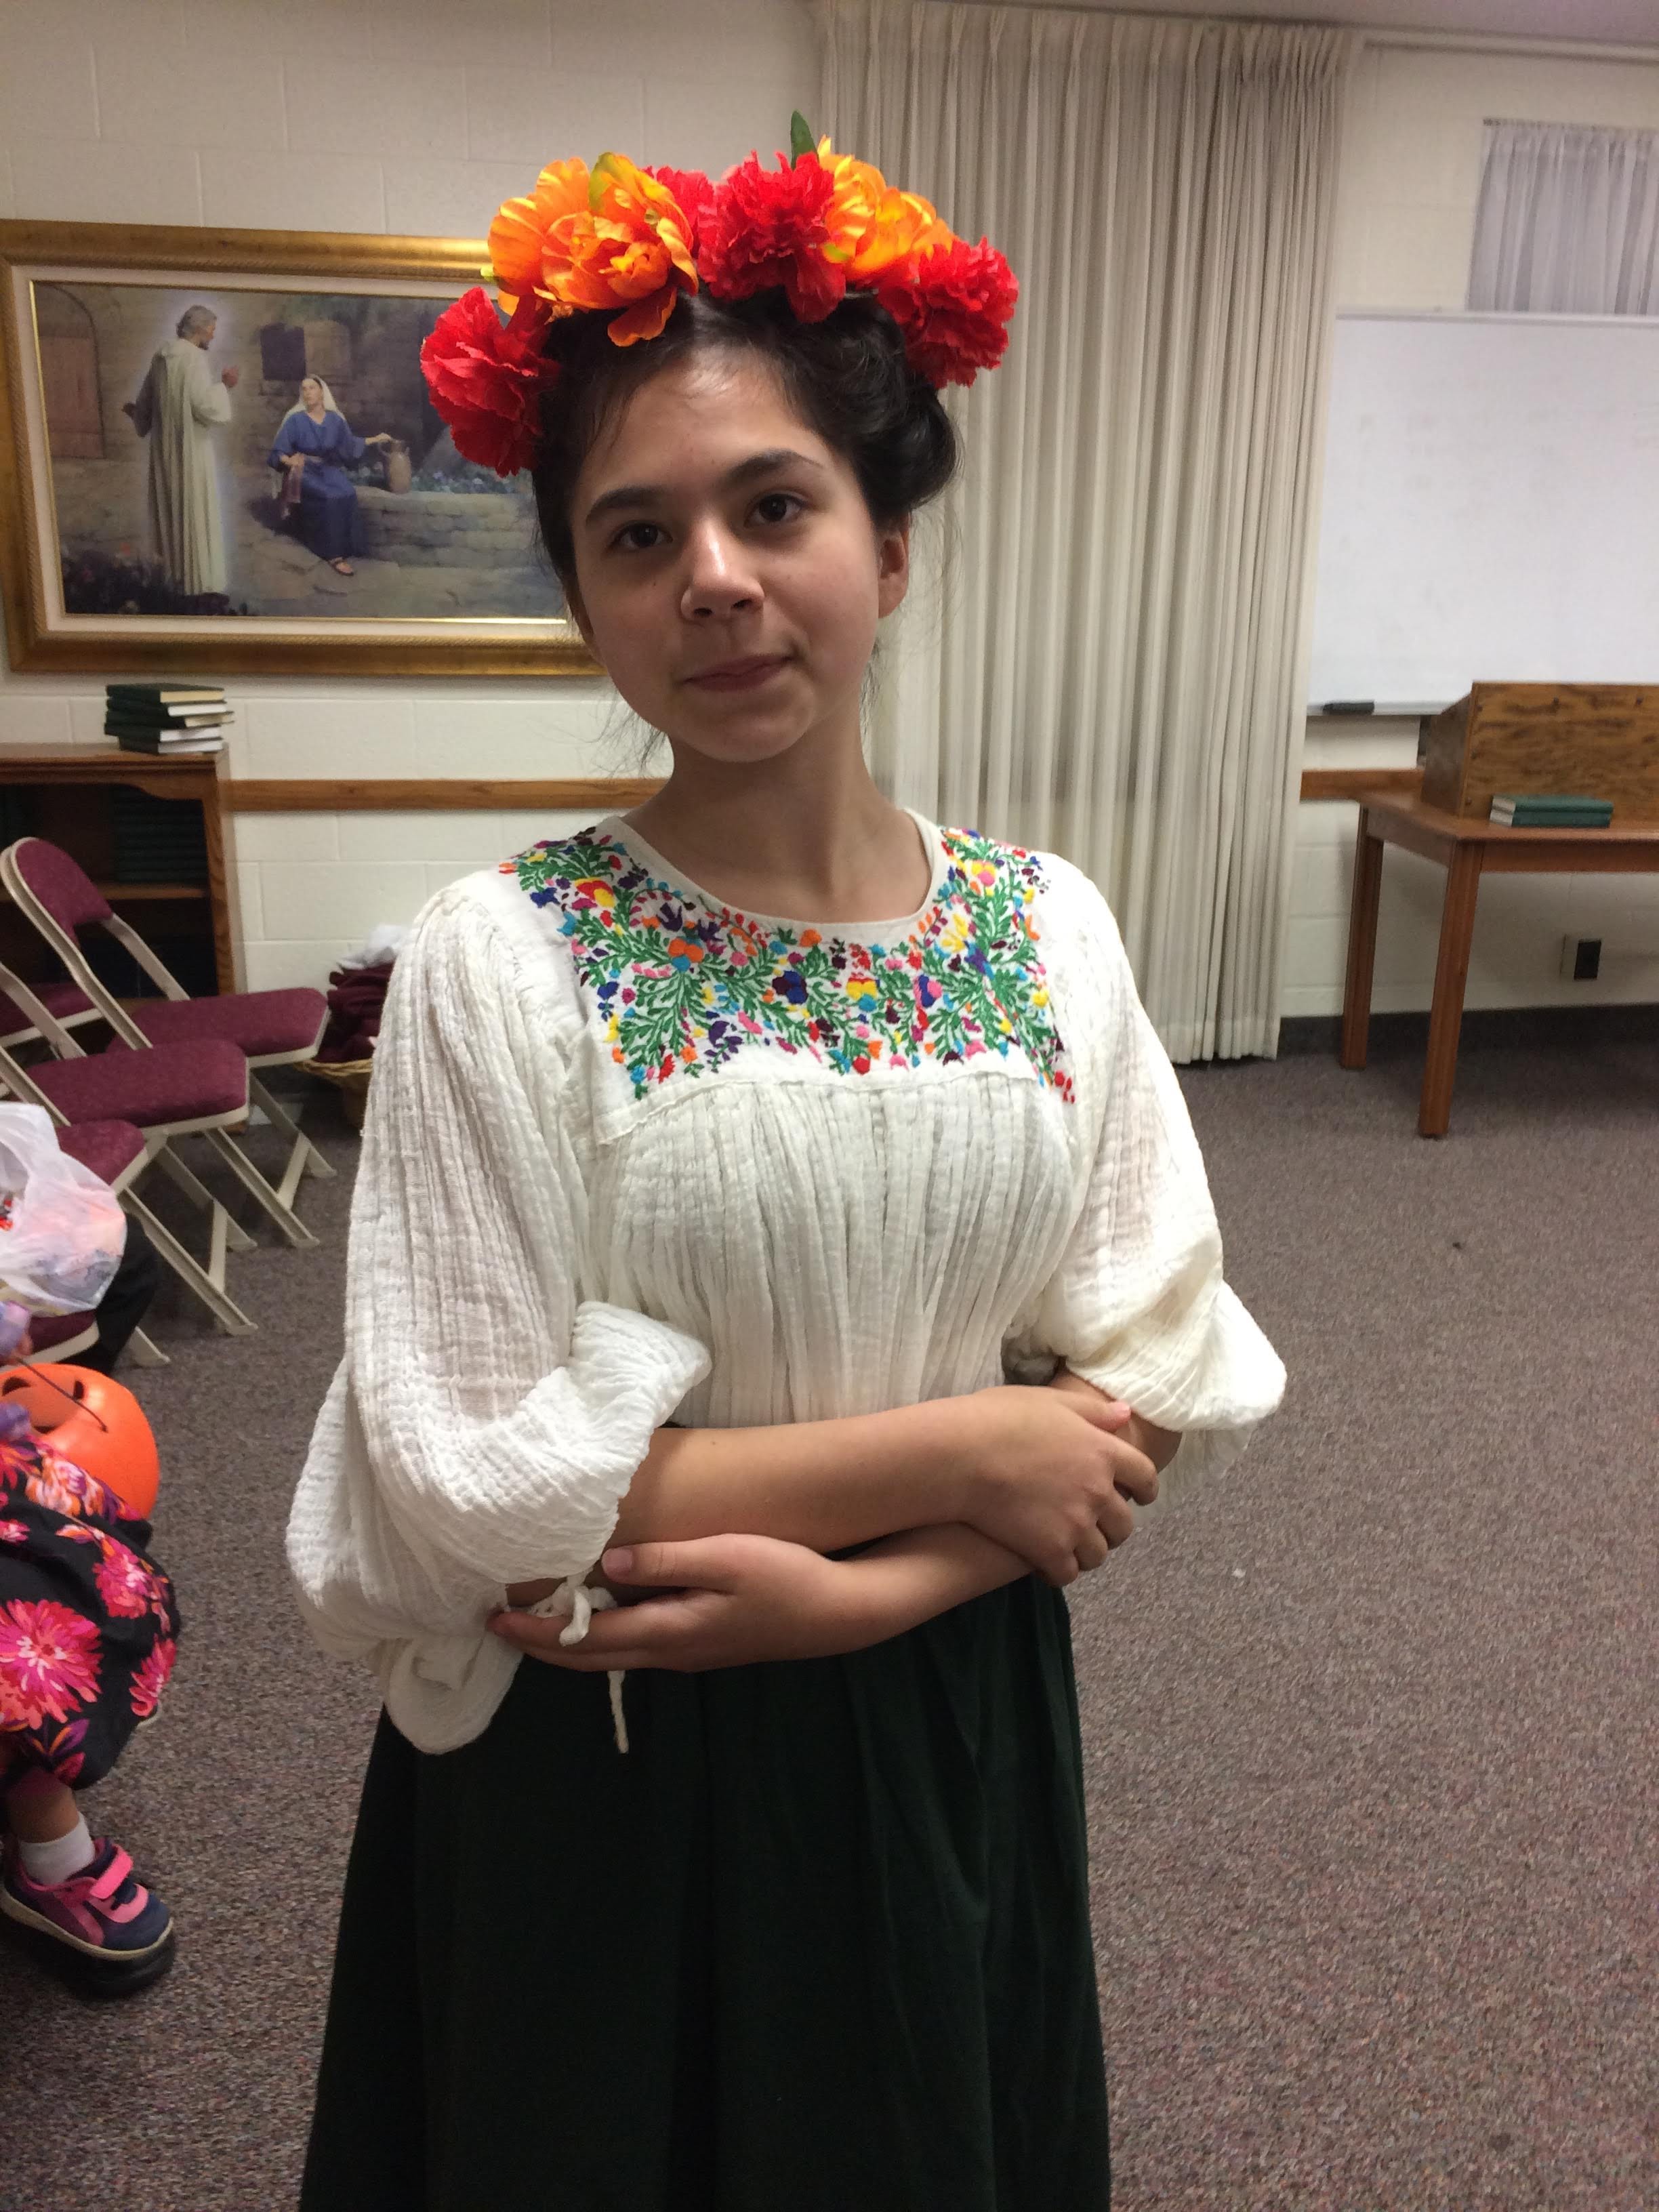
Peach Pie wanted to be Frida Kahlo. This was the only costume that cost me money this year. I spent $3 on those silk flowers at Dollar Tree. She refused to allow me to draw in a uni-brow with my black eyeliner, which was the only thing this costume lacked!
Pumpkin Pie wanted to be Katara from Avatar: The Last Airbender. I forgot about this costume needing to be made also. (Have you noticed a theme yet?)
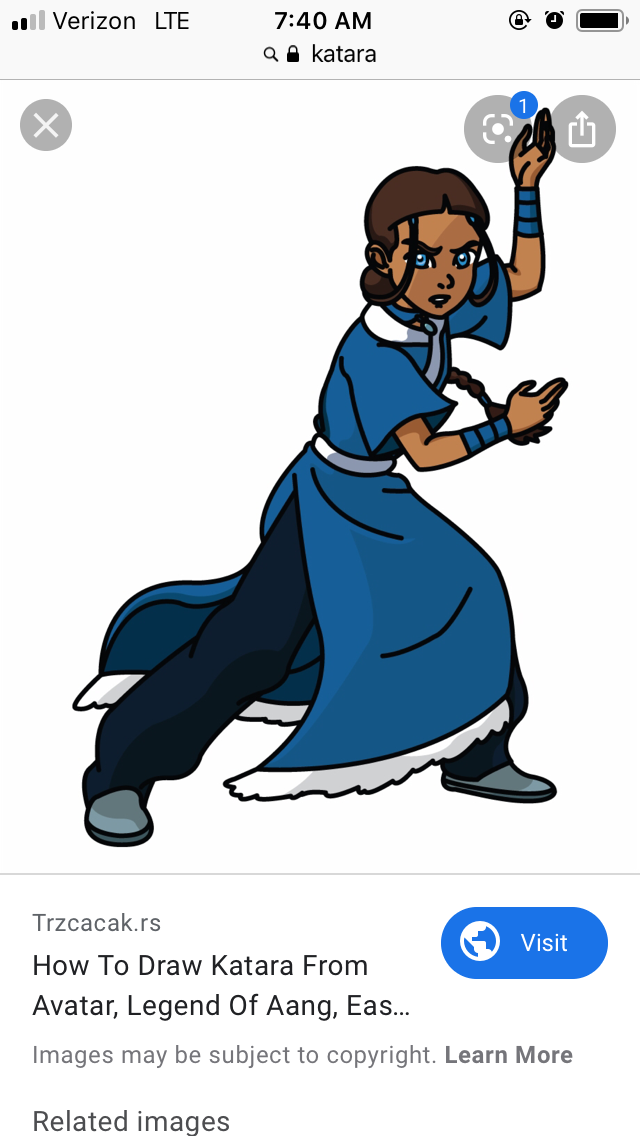
While Pumpkin Pie was at school, I traced a pattern from a knit dress she has and hunted out some navy blue fabric and a bit of white from my stash. I still can’t believe that I was able to find every fabric I needed. It was a blessing.

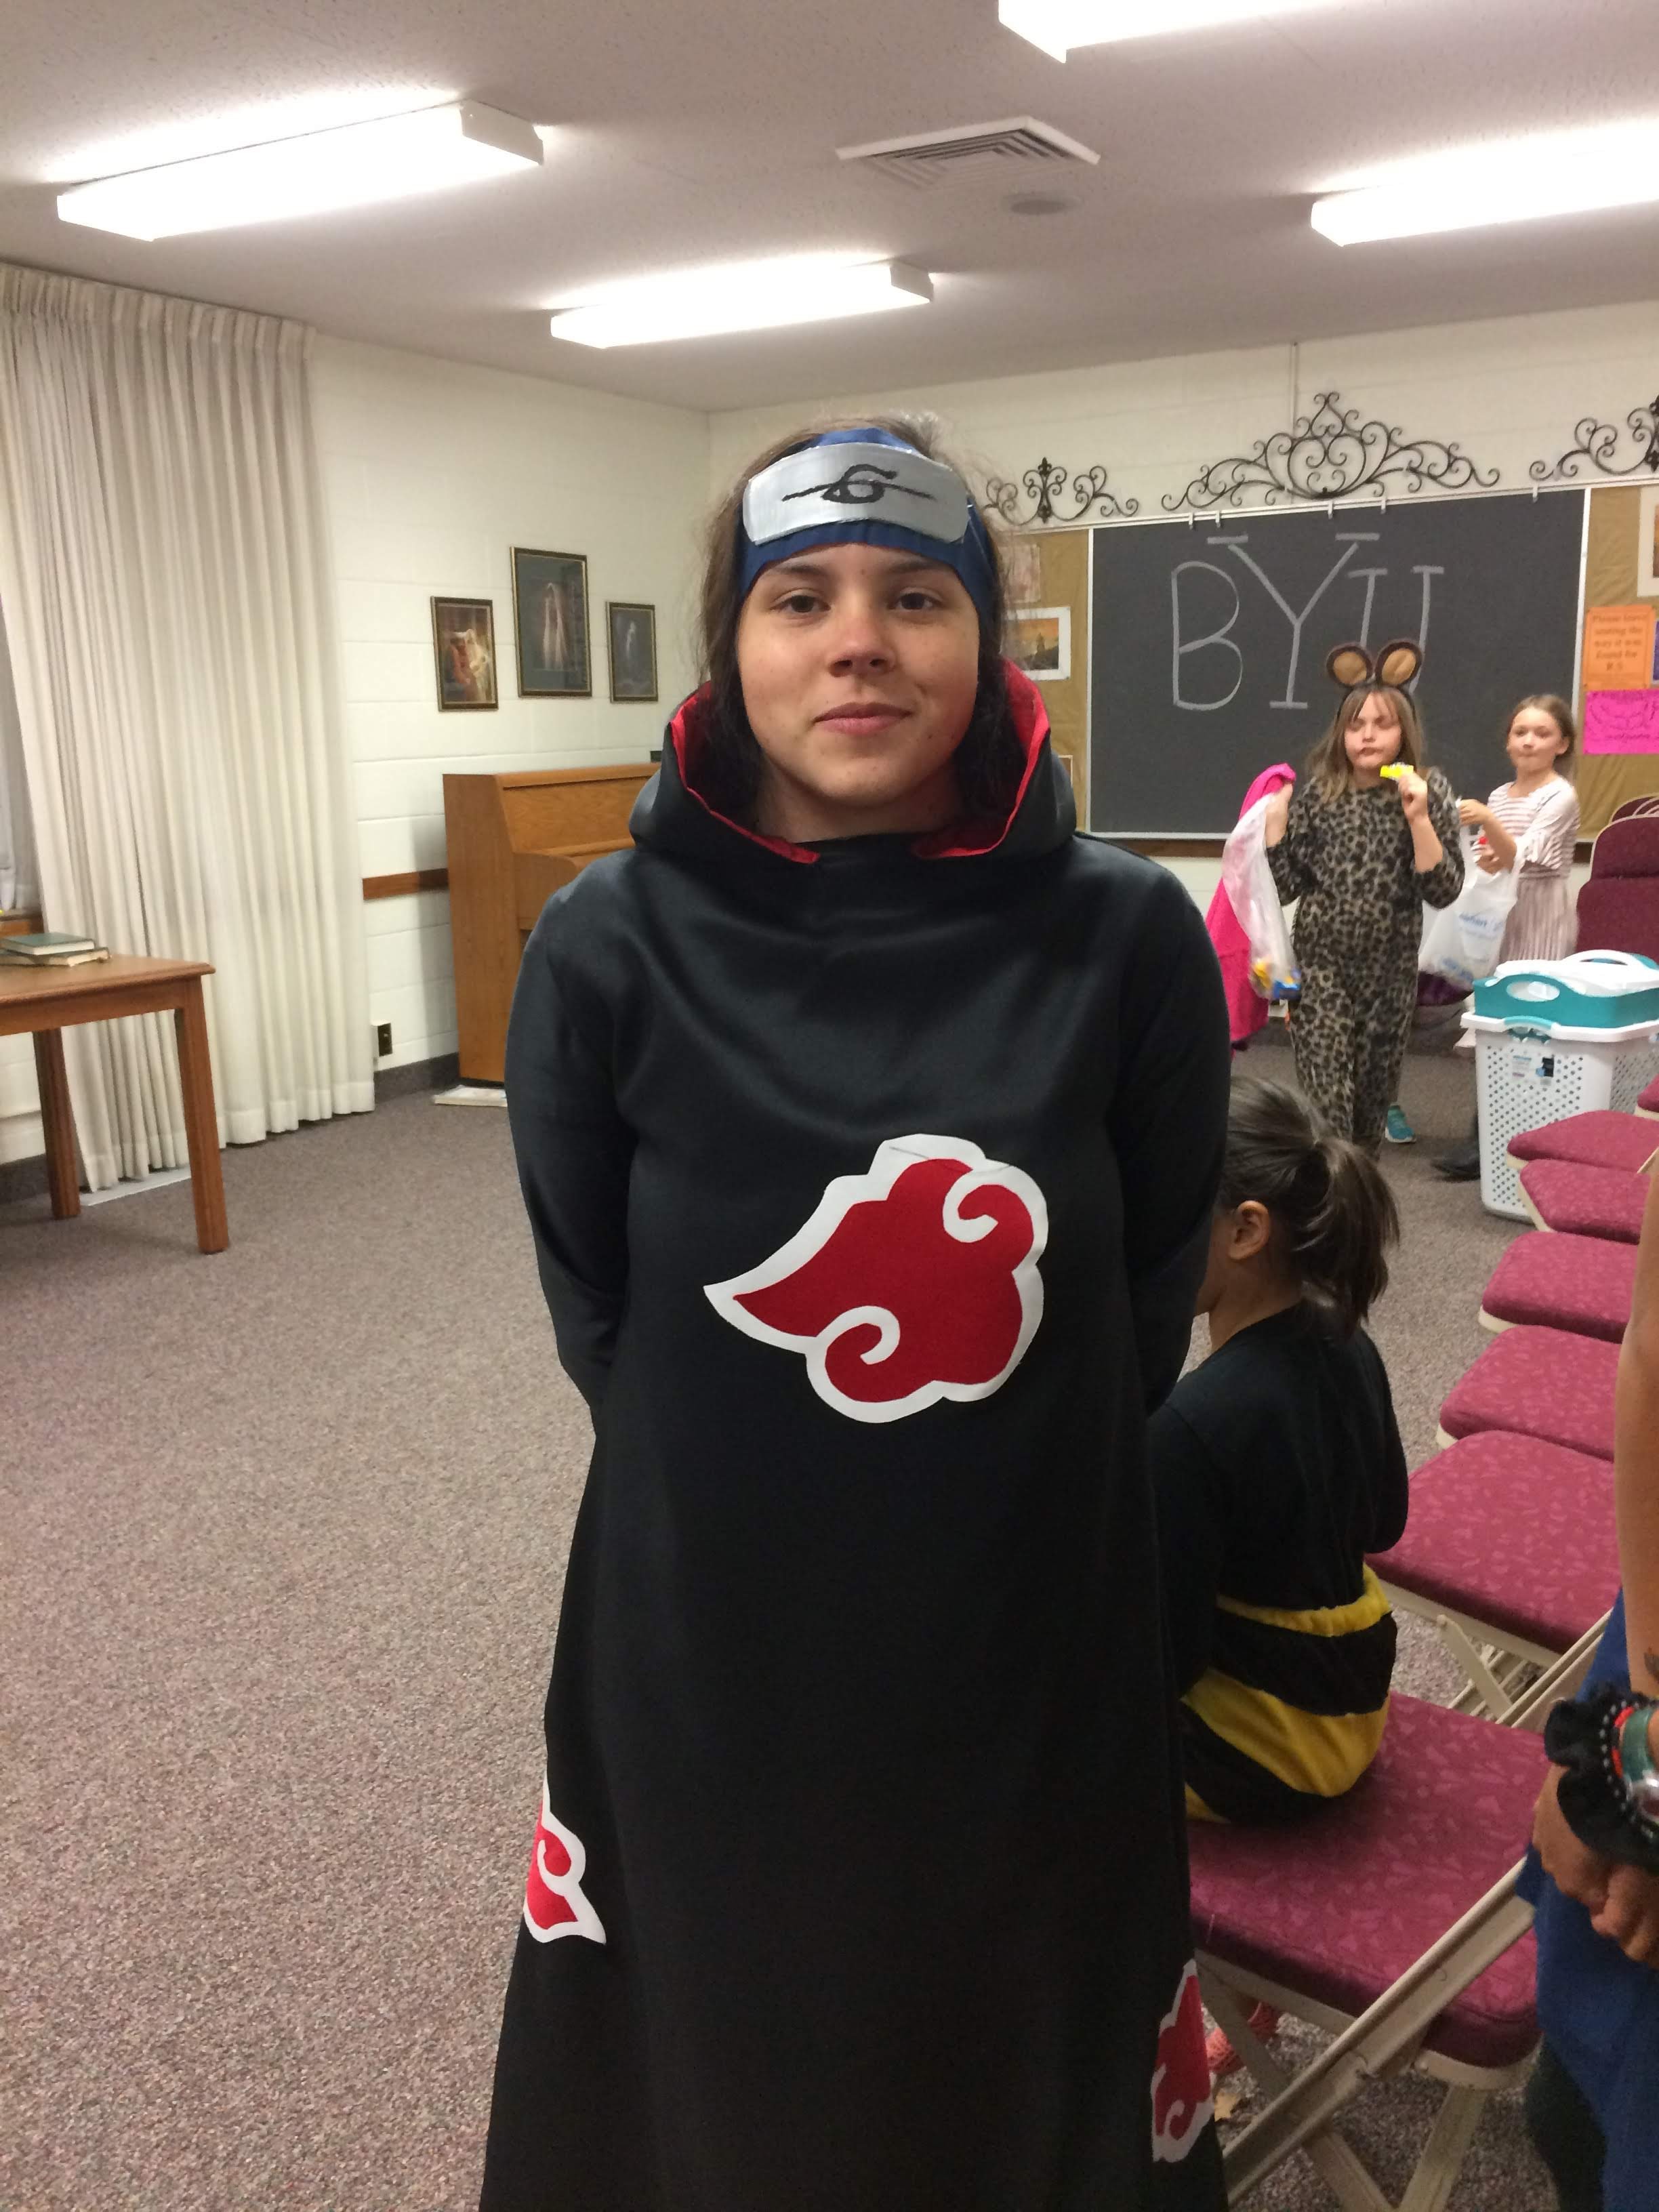
Cherry Pie wanted to be Kisame Hoshigaki from the anime Naruto.
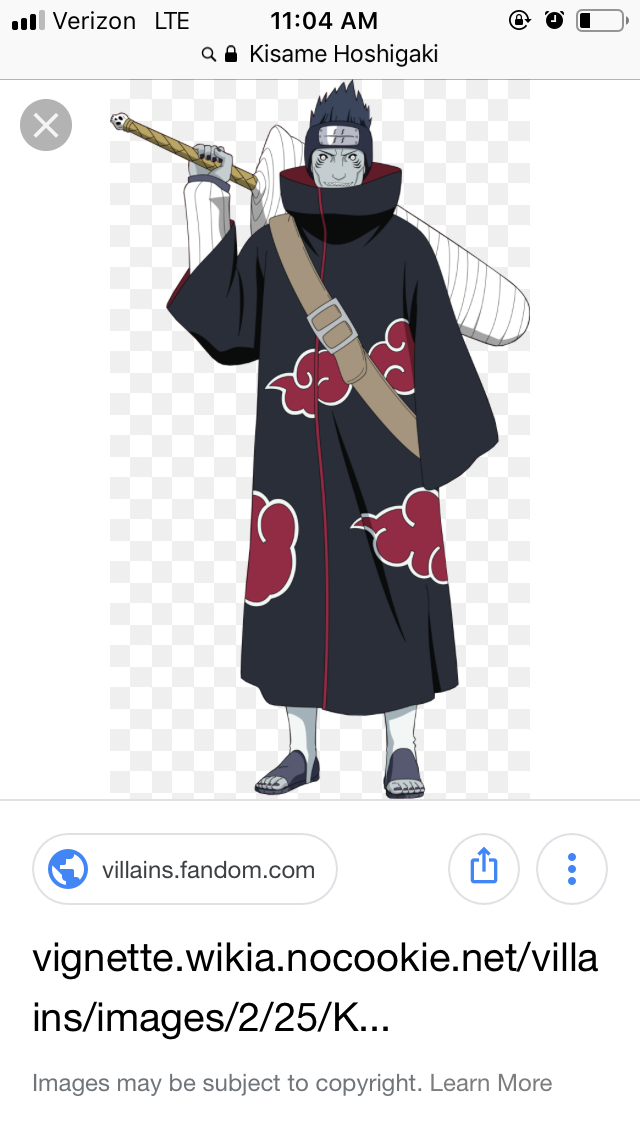
She made this entirely by herself, drawing off a pattern from her winter coat. I did teach her about the magic stuff called Heat-n-Bond when I found out she needed to applique the designs. Luckily, I had some of that in my stash too, as well as these black, red and white fabrics.
I am still in shock at how little crazy sewing I had to do this year, thanks to the growing talents of my most impressive daughters.
Halloween was a success!!!
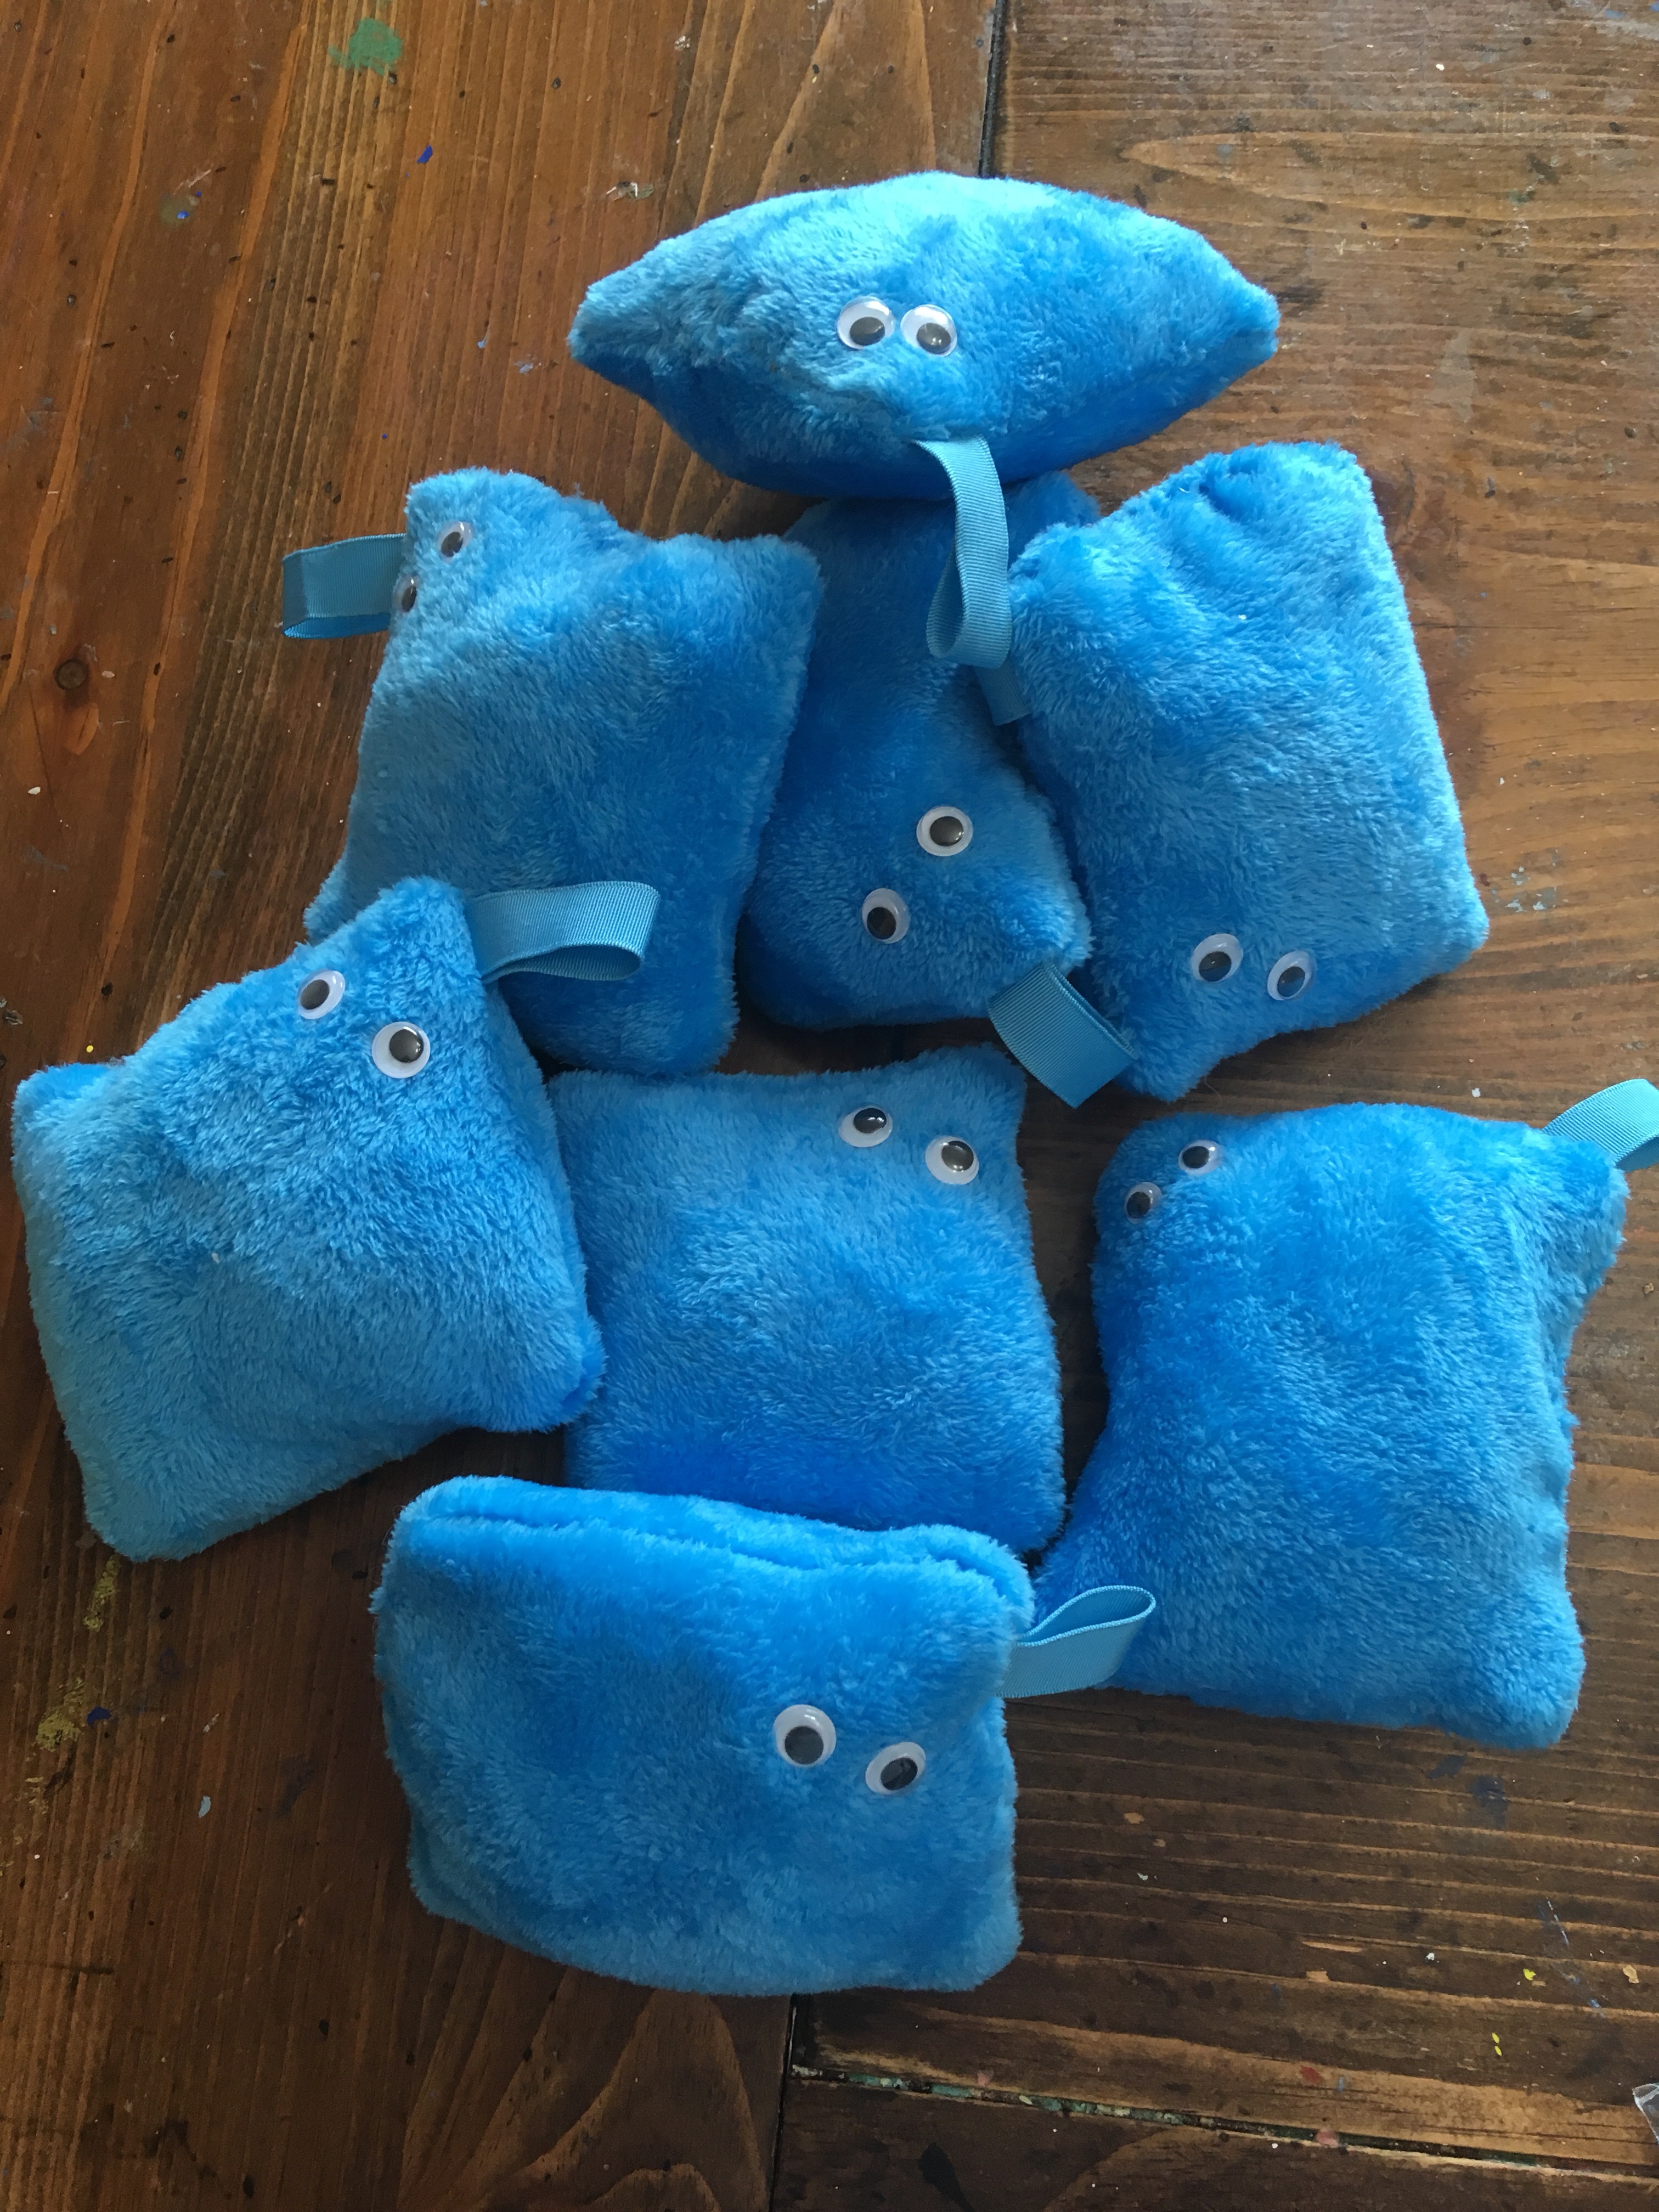
When you decide at noon that the girls coming to your 10-year-old’s birthday party at 4pm that day need a party favor to take home.
Then you get out the piece of blue fleece left over from making a pillow for cousin Emily last year,
the ribbon from a box of lace that a sweet granny at church gave you when she decided to reduce her stash,
the fiber fill stuffing your friend gave you when it was left over from reupholstering a chair,
googley-eyes left over from a preschool project,
And E6000 glue because glue.
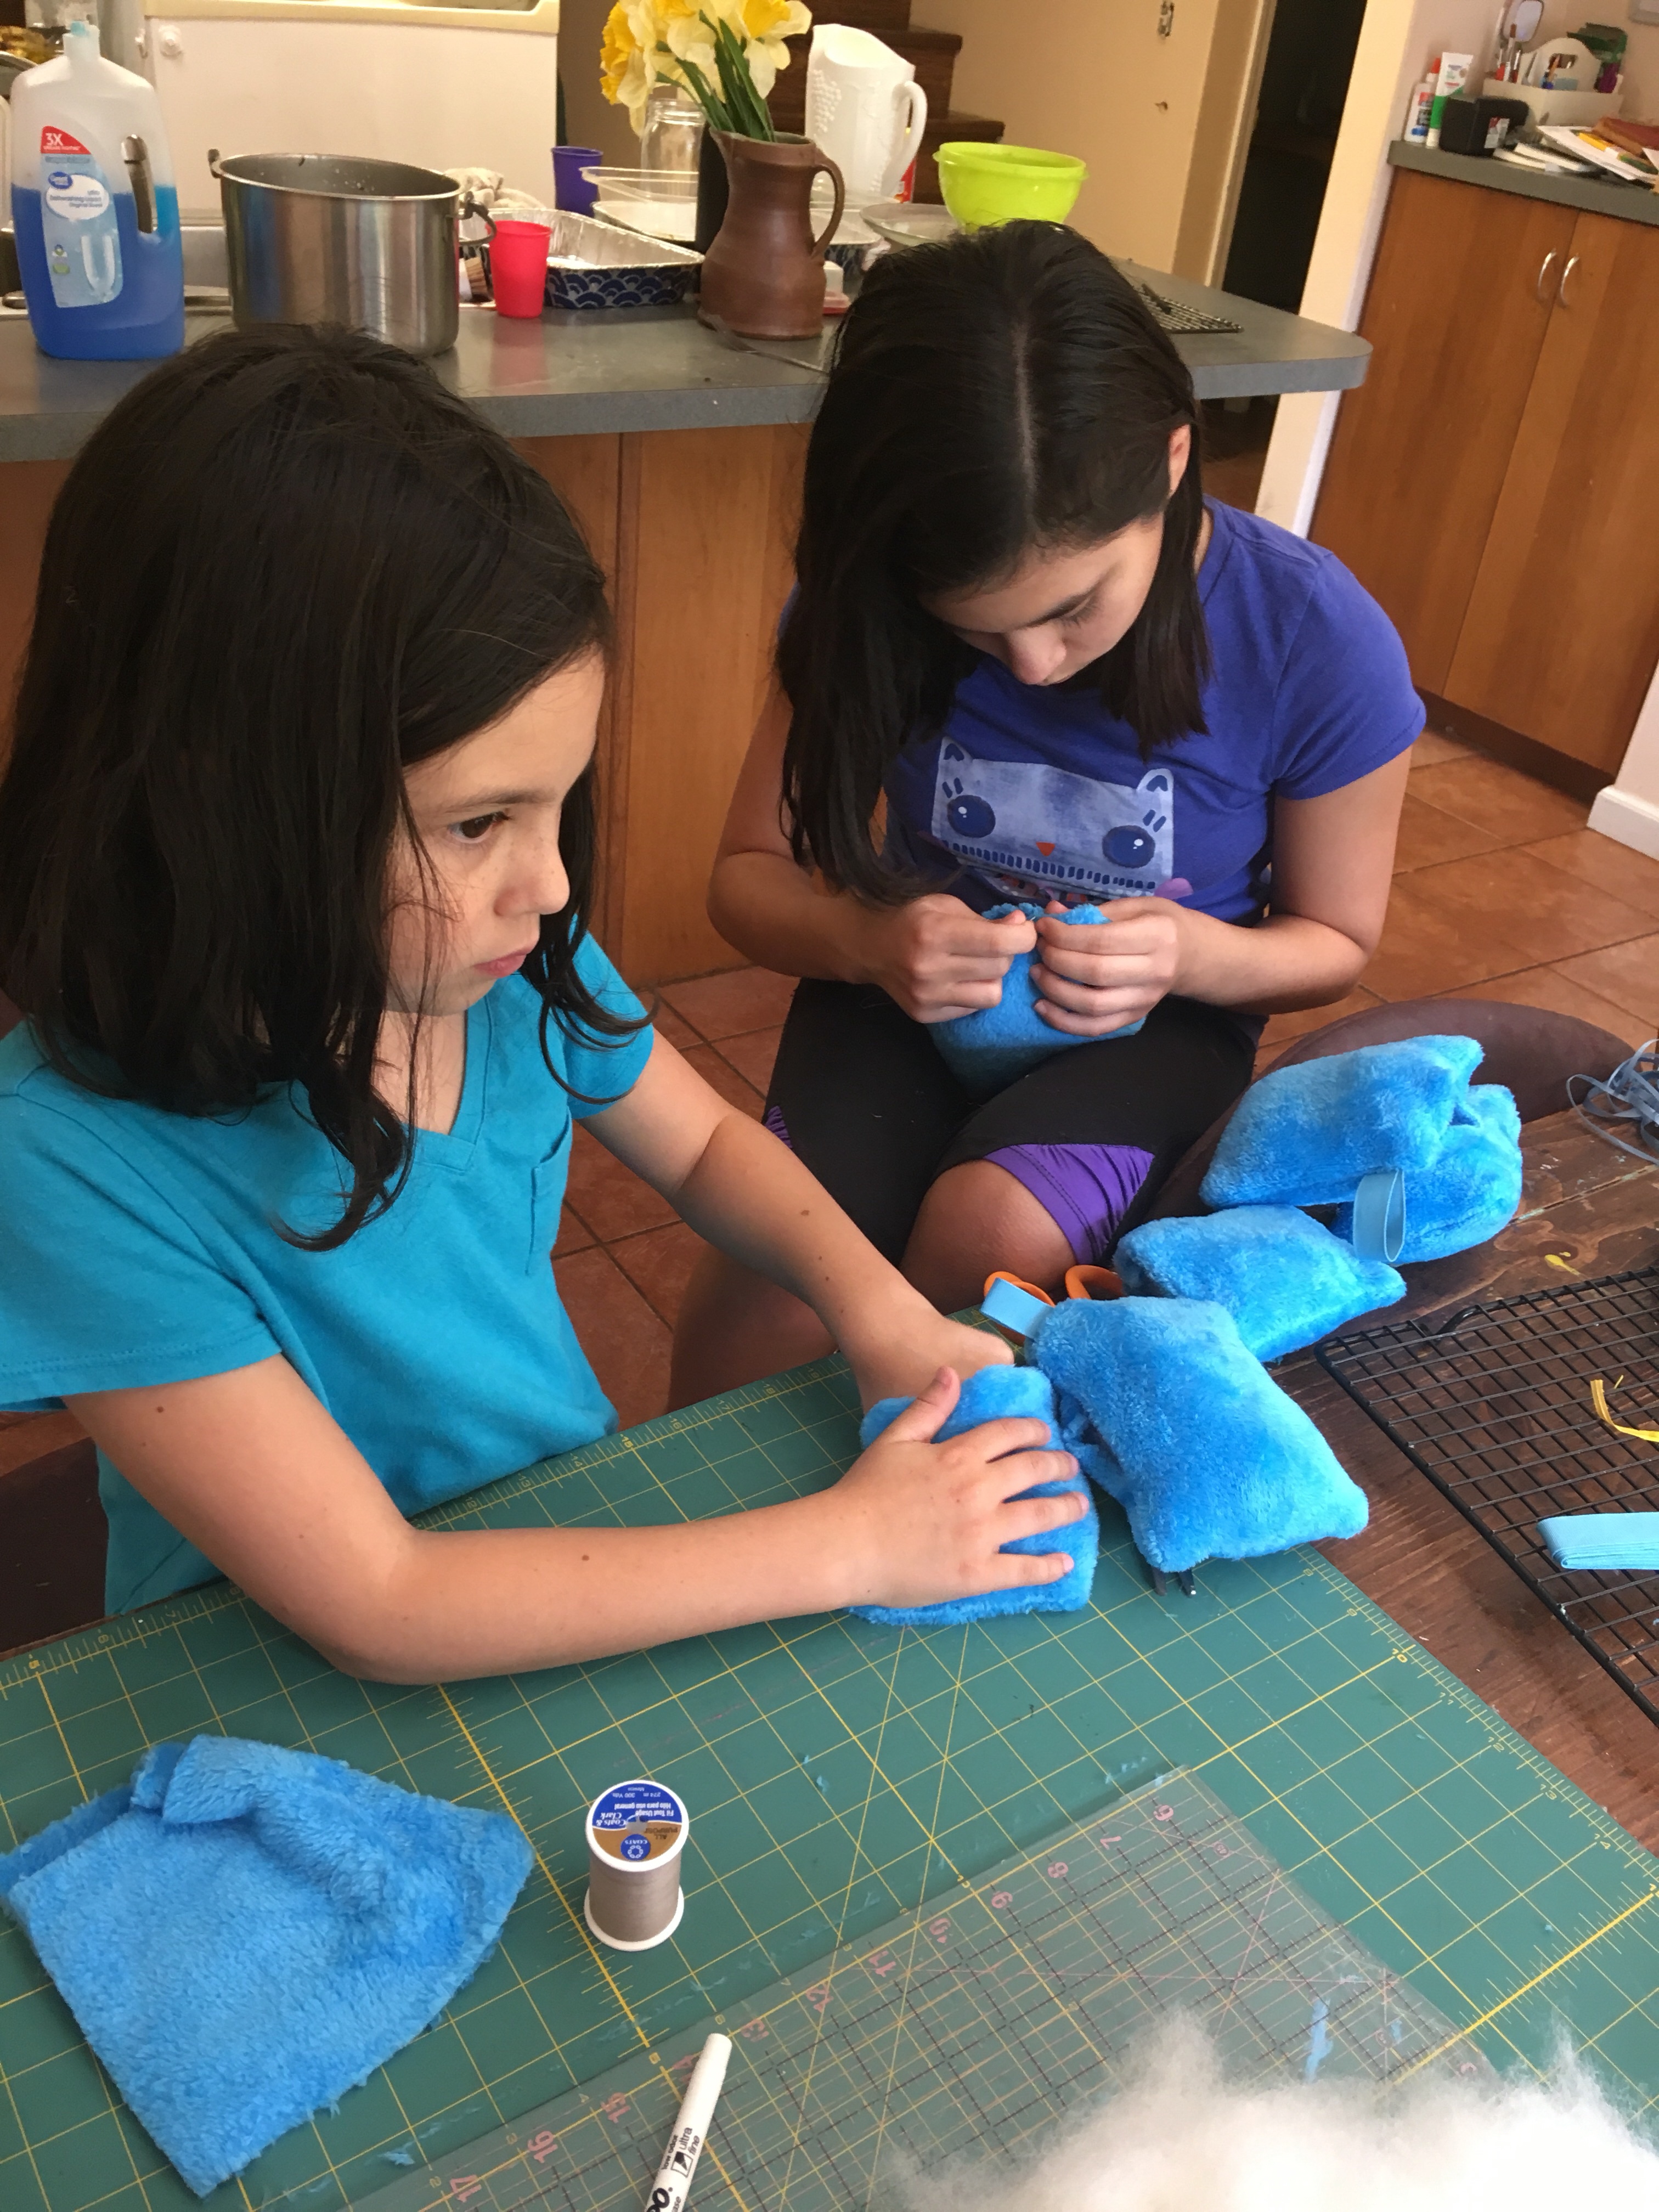
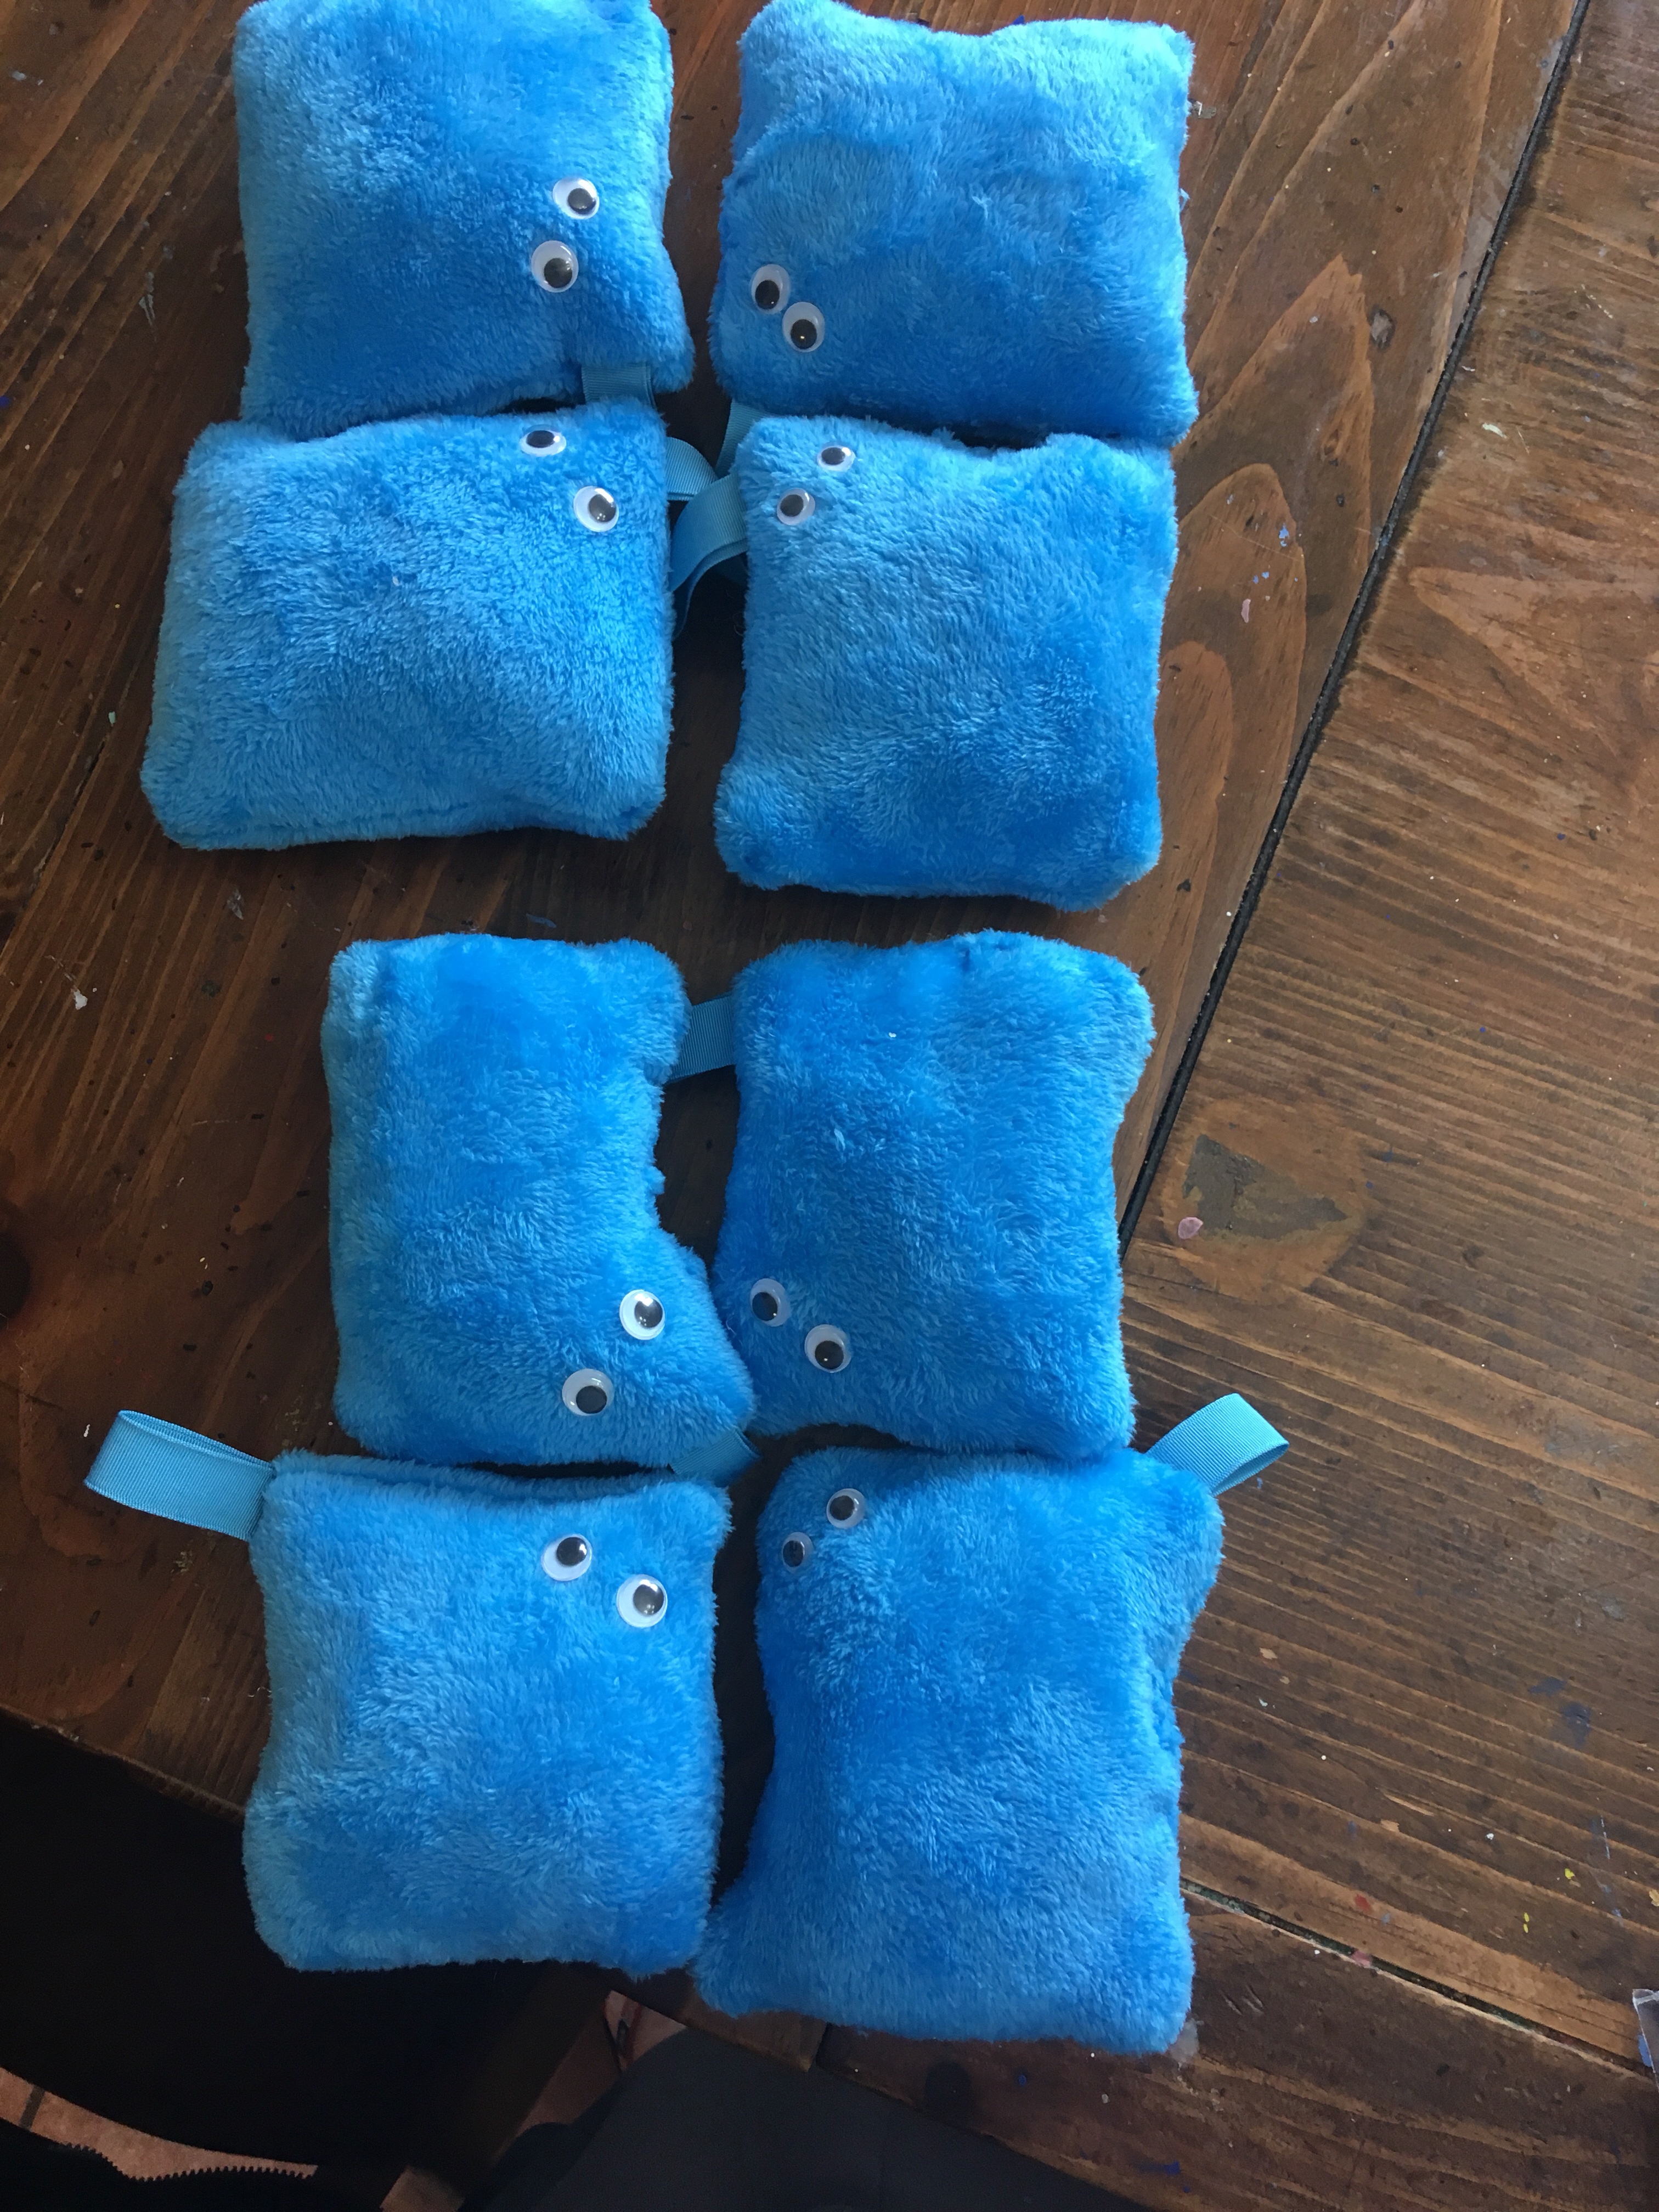
Enlist the help of your minions, and less than 2 hours later, you have blue cuteness.
Just enough time to clean-up the house…or catch a nap before eight 10-year-olds descend upon you en masse.
In January, I took a day to sew something for myself.

HotPatterns 1205 the Genius T.
I love it.

I made this vest for Blueberry Pie to go to a dance.
The button holes were kind of wonky, but I’m telling myself that they are hidden behind the buttons so it’s not a big deal.
Blueberry is such a handsome guy.
We are having warmer days. The daffodil shoots are up and the skunks are out of hibernation. Our dog got herself sprayed this week.

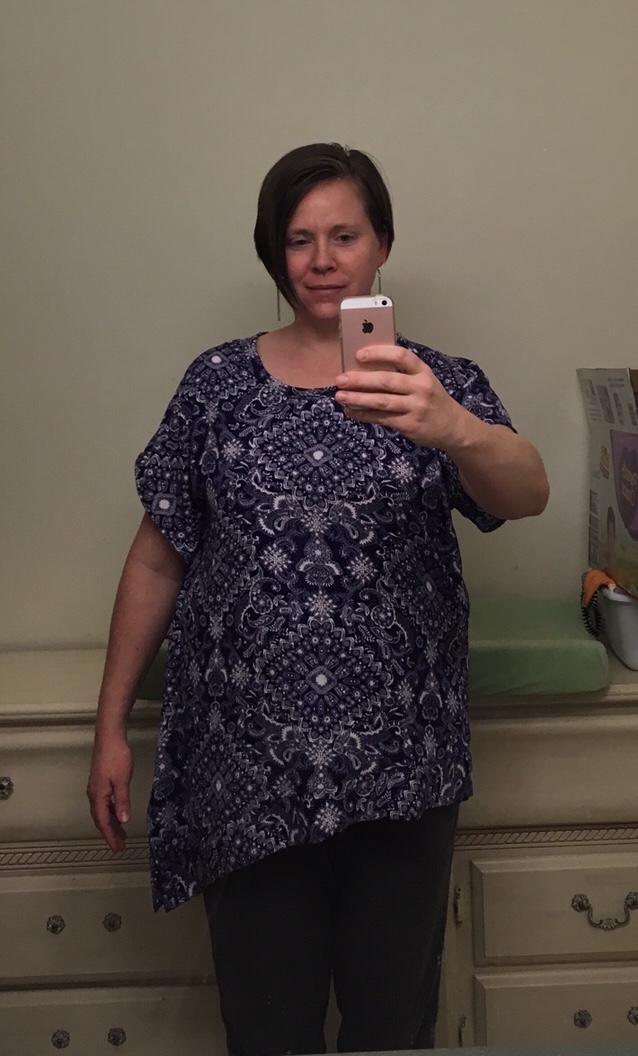
Friday night and Saturday, my sister-in-law Amy kept all 6 girls and the Skooter Pies, and I spent the day sewing a shirt for myself. It was pretty fun to finish a project. The house was weirdly quiet though. I kept catching myself listening for babies to wake up. I finally turned on some music.

This was my beta test or my “muslin”. I used an old piece of fabric that has been acting as a tablecloth for several years and was ready to be retired. After measuring myself and the pattern, I cut a size 12 neck and shoulders, graded it out to a 14 on the sides and put a size 18 sleeve in.
( Trying to figure out what size pattern to make from my measurements makes me feel a bit like Frankenstein’s monster–such a hodge podge of mismatched parts!).
My muslin took until noon to create, and then went into the trash because the sleeves were too tight, the neckline was too tight across my chest, and the neckband gaped in back.
For Try #2, I decided to trust the pattern maker a bit more. I made a straight size 16 bodice, but I needed a size 24 sleeve because my upper arm is just big compared to the rest of me. So I learned how to alter a sleeve skye to fit a larger sleeve. Thank you, you tube. I also took about a 1/2 inch out of the back neckband to hopefully fix the gap problem.
I lucked out and the shirt fit me very well, and the neckband lay flat. Perhaps I may have been able to get away with a size 14 bodice–I think it would fit through the shoulders better-I have narrow shoulders compared to the rest of me. Also I’d like to raise the neckline an inch, but I couldn’t figure out how to Saturday. This morning I had an idea of how to do that and keep the pretty pleats. Next chance I get, I’ll try it.

The nice thing is that once I have my pattern perfected, I’ll be able to crank out a beautiful top in a couple of hours. My trusty dusty 20 year old Bernina 1008 is still going strong and handled this slub knit very well. I used the overlock stitch (#12) and a needle for stretch fabrics.
This pattern is from Hotpatterns.com, a little inde pattern company run by a husband and wife. The wife designs and the husband does all the printing/folding/shipping. I ❤ her patterns, all of which are graded from size 6 up to size 26. Unheard of elsewhere! Also, she starts with a size 14 and grades up & down from there, so the patterns begin by being closer to what a real person is shaped like than the big 4 pattern companies’ patterns. That really helps if you are a Frankenstein monster or a human who has been pregnant a few times.
This top is called “Everybody loves the Sunshine” HP1193. It’s very forgiving and so comfortable! I need at least 3 more !

So cute! I enjoyed making it so much.
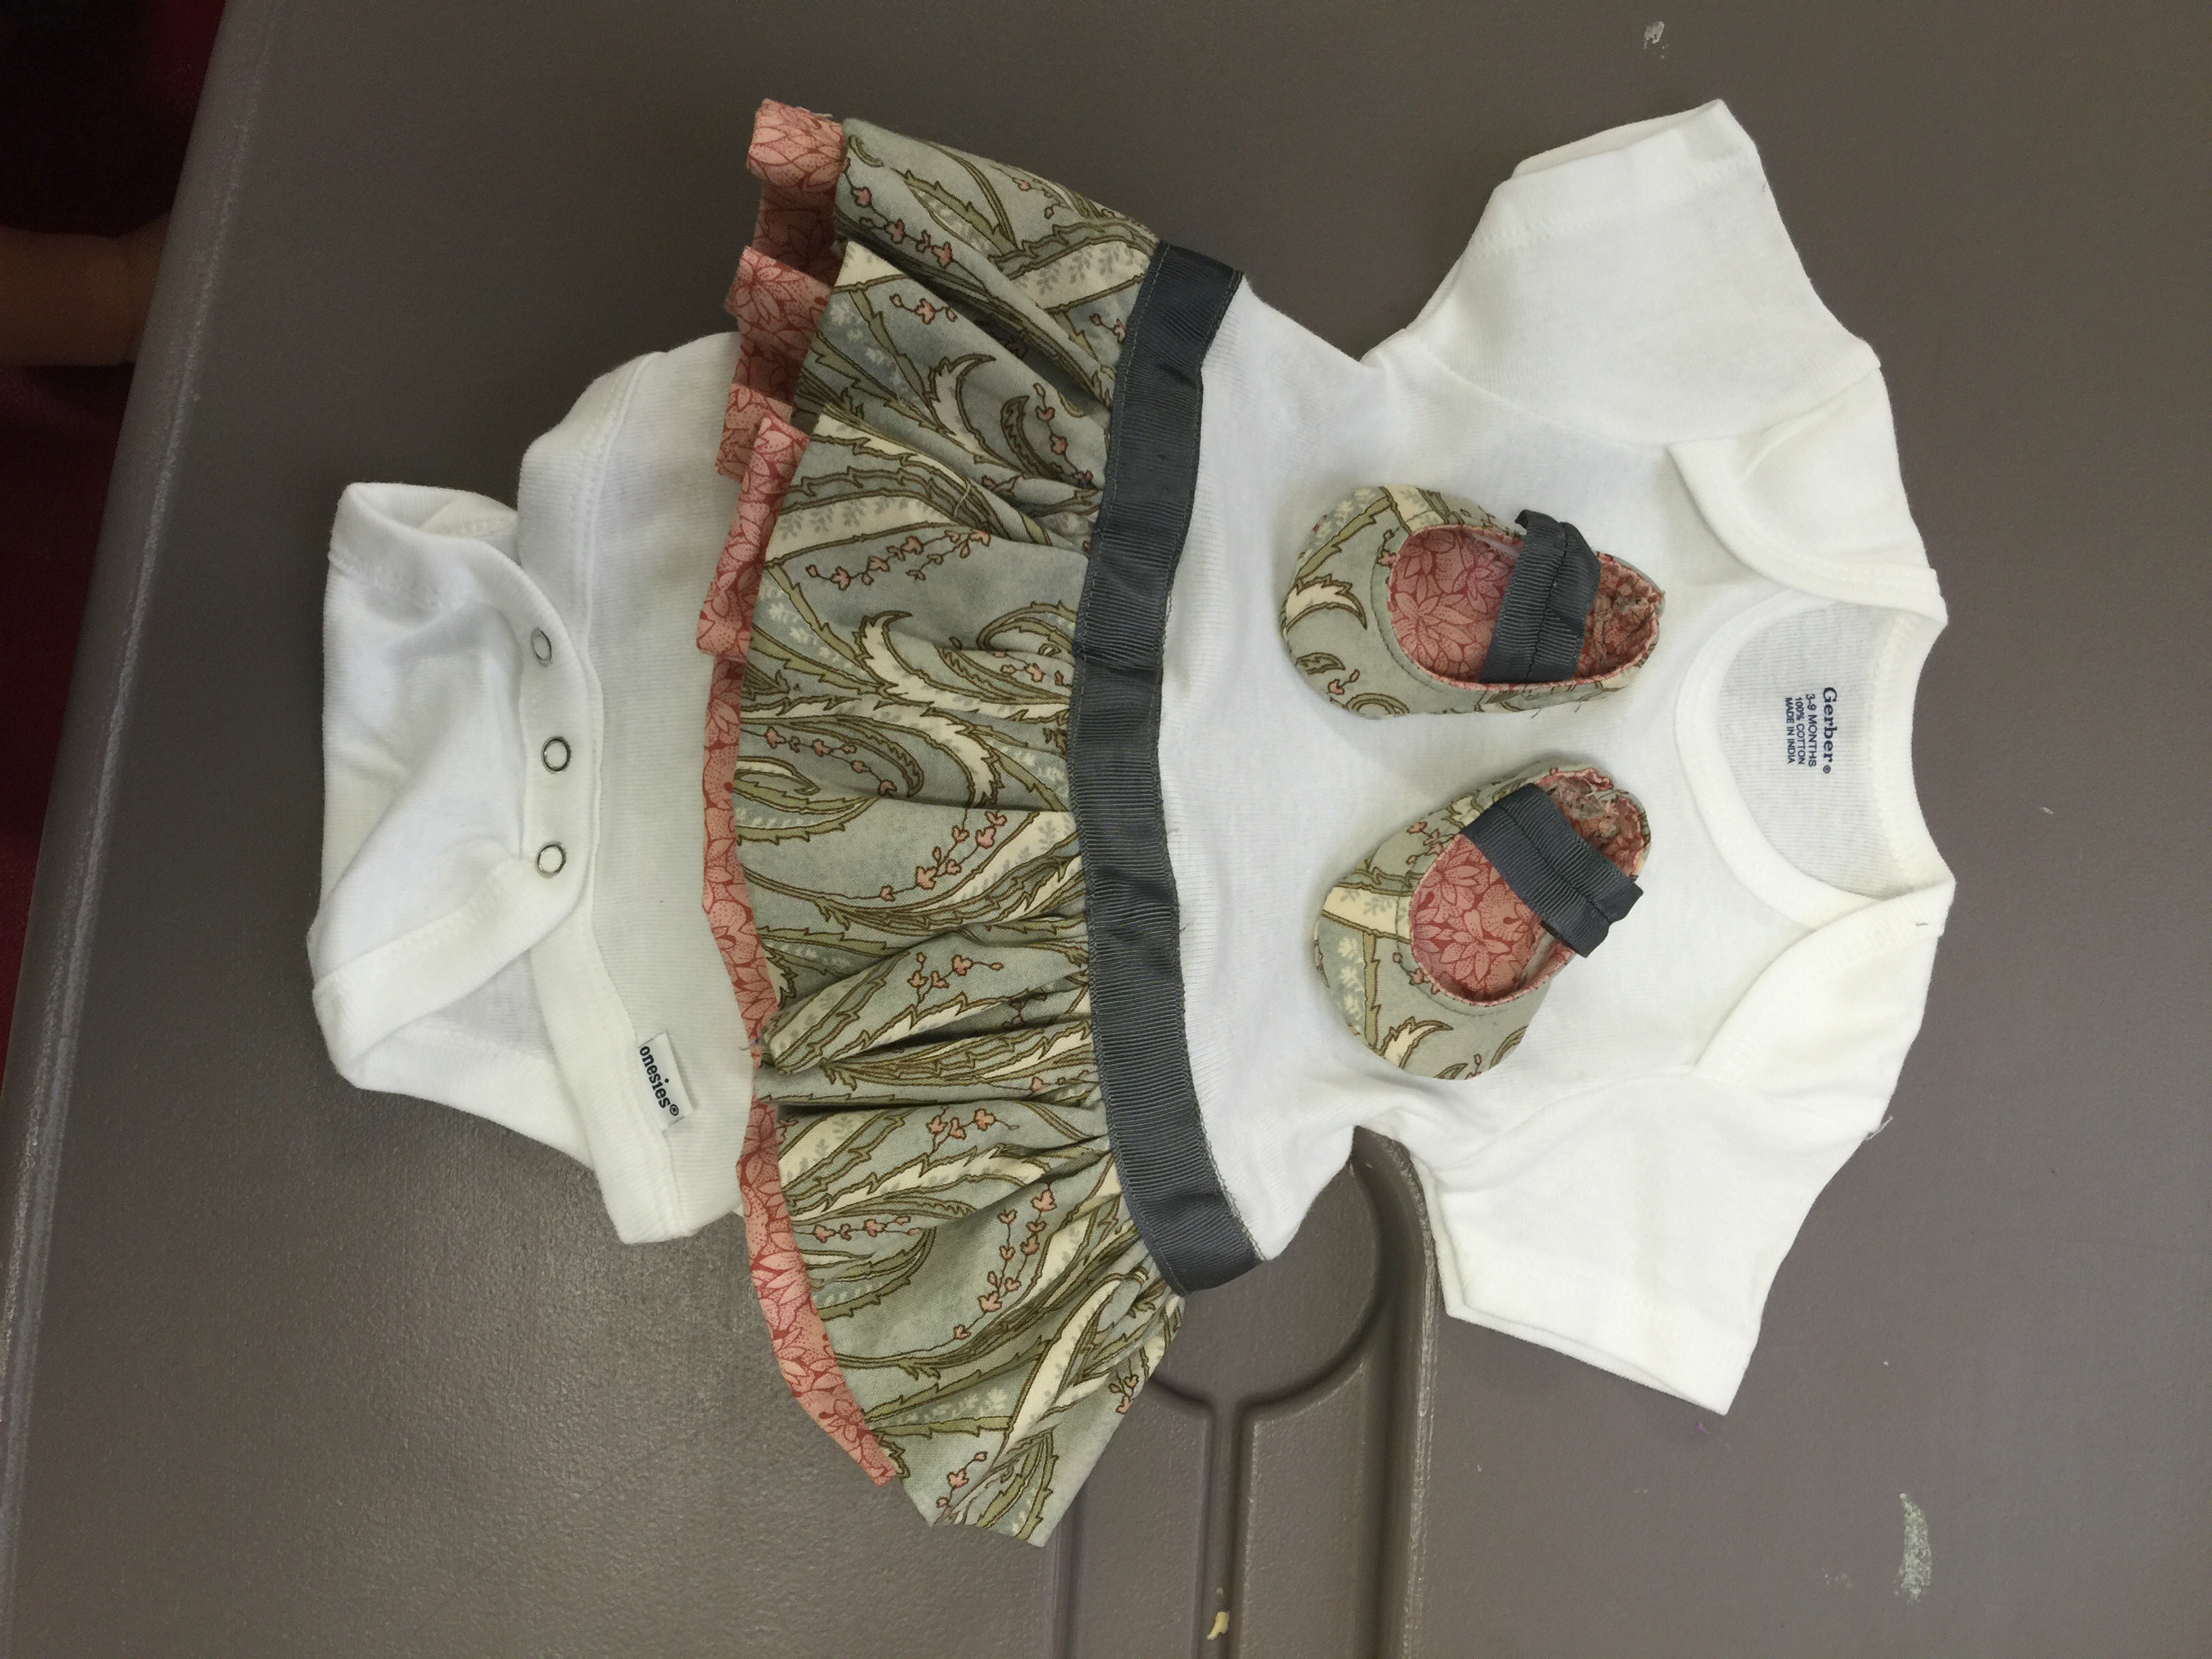
Secret Sewing tip:
**never think you will save time by not pinning the fabric. You will not save time, you will sew the onesie to itself and have to unpick.
Secret Sewing Tip:
If you try to unpick thin double knit onesies, you will just make holes. The fabric is ruined and you must start over with a new onsie. So avoid having to unpick.
Haha
I got the idea and shoe pattern here:
http://crazylittleprojects.com/2012/04/baby-girl-peasant-dress-ensemble.html
And the onsie tutorial here:
Click to access Onesie_Ruffle_Dress_Tutorial.pdf
This one looks good too:
http://thethriftycouple.com/2014/02/21/10-minute-diy-onesie-dress-tutorial/


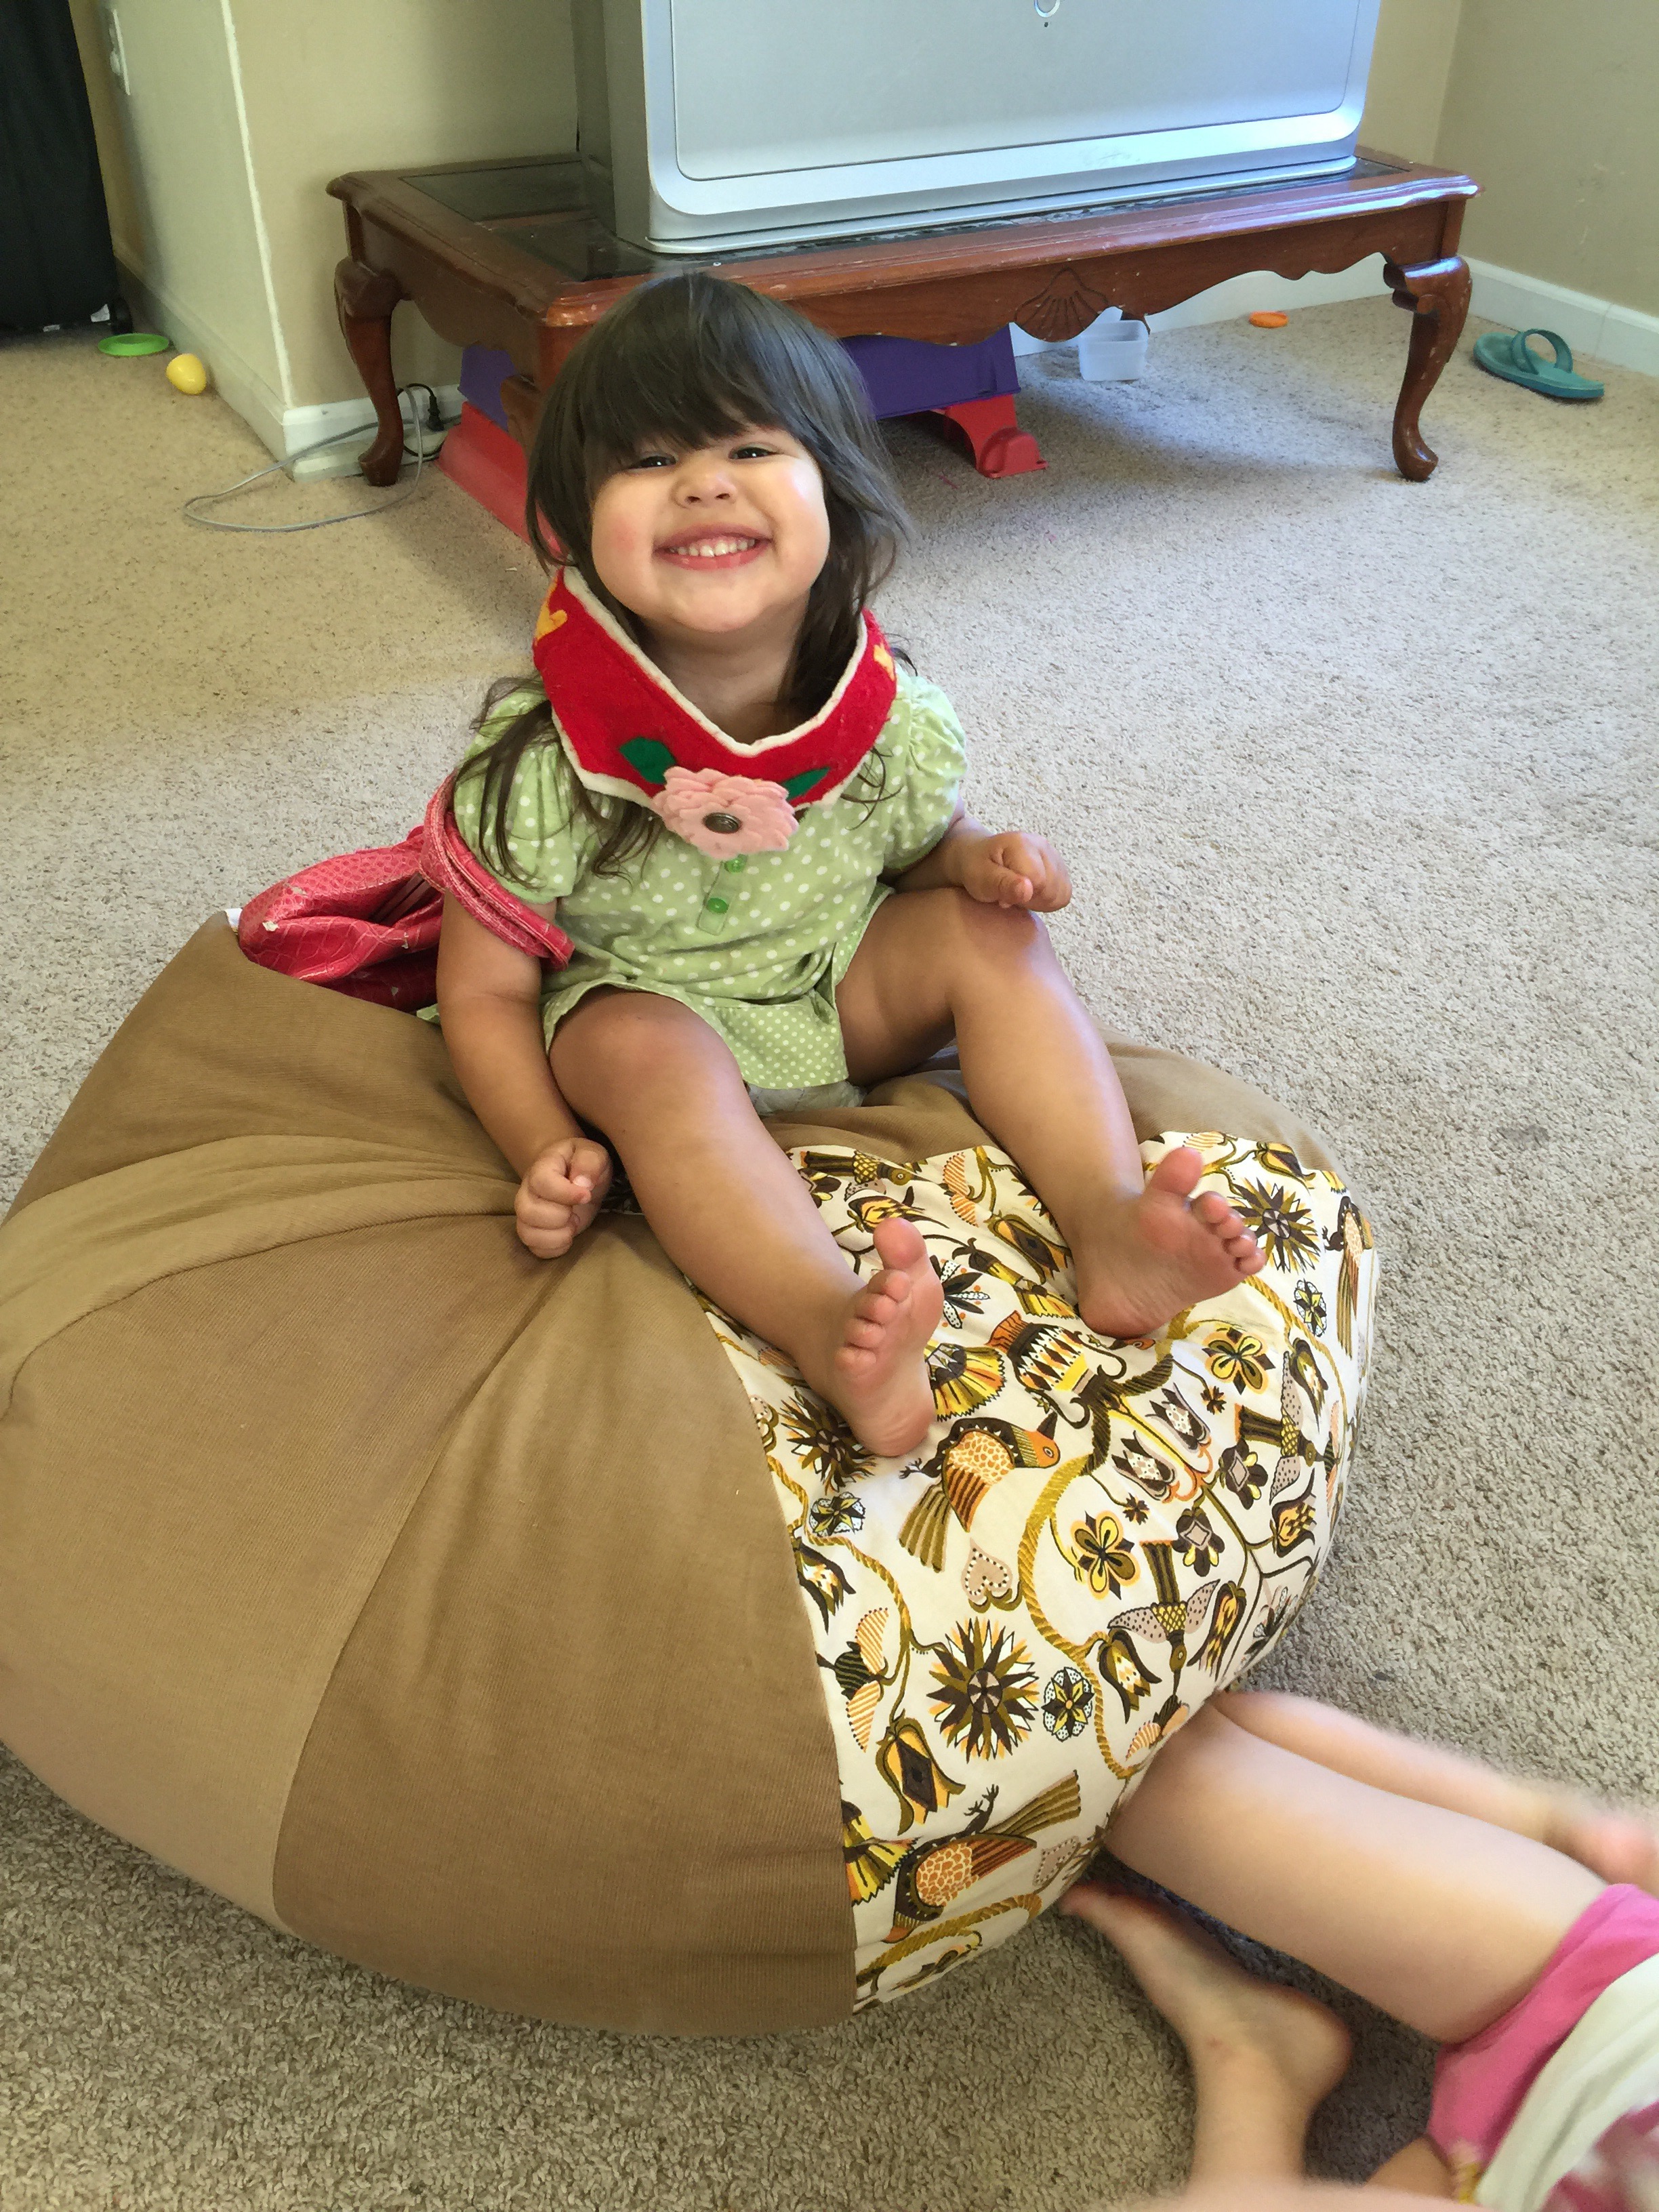


I made this!
It’s the first time I’ve sewed anything since last October.
It is stuffed full of all the princess dress ups.
Storage and seating! I’m so happy


